Making a TinyCircuits Project Thin Instead of Tall
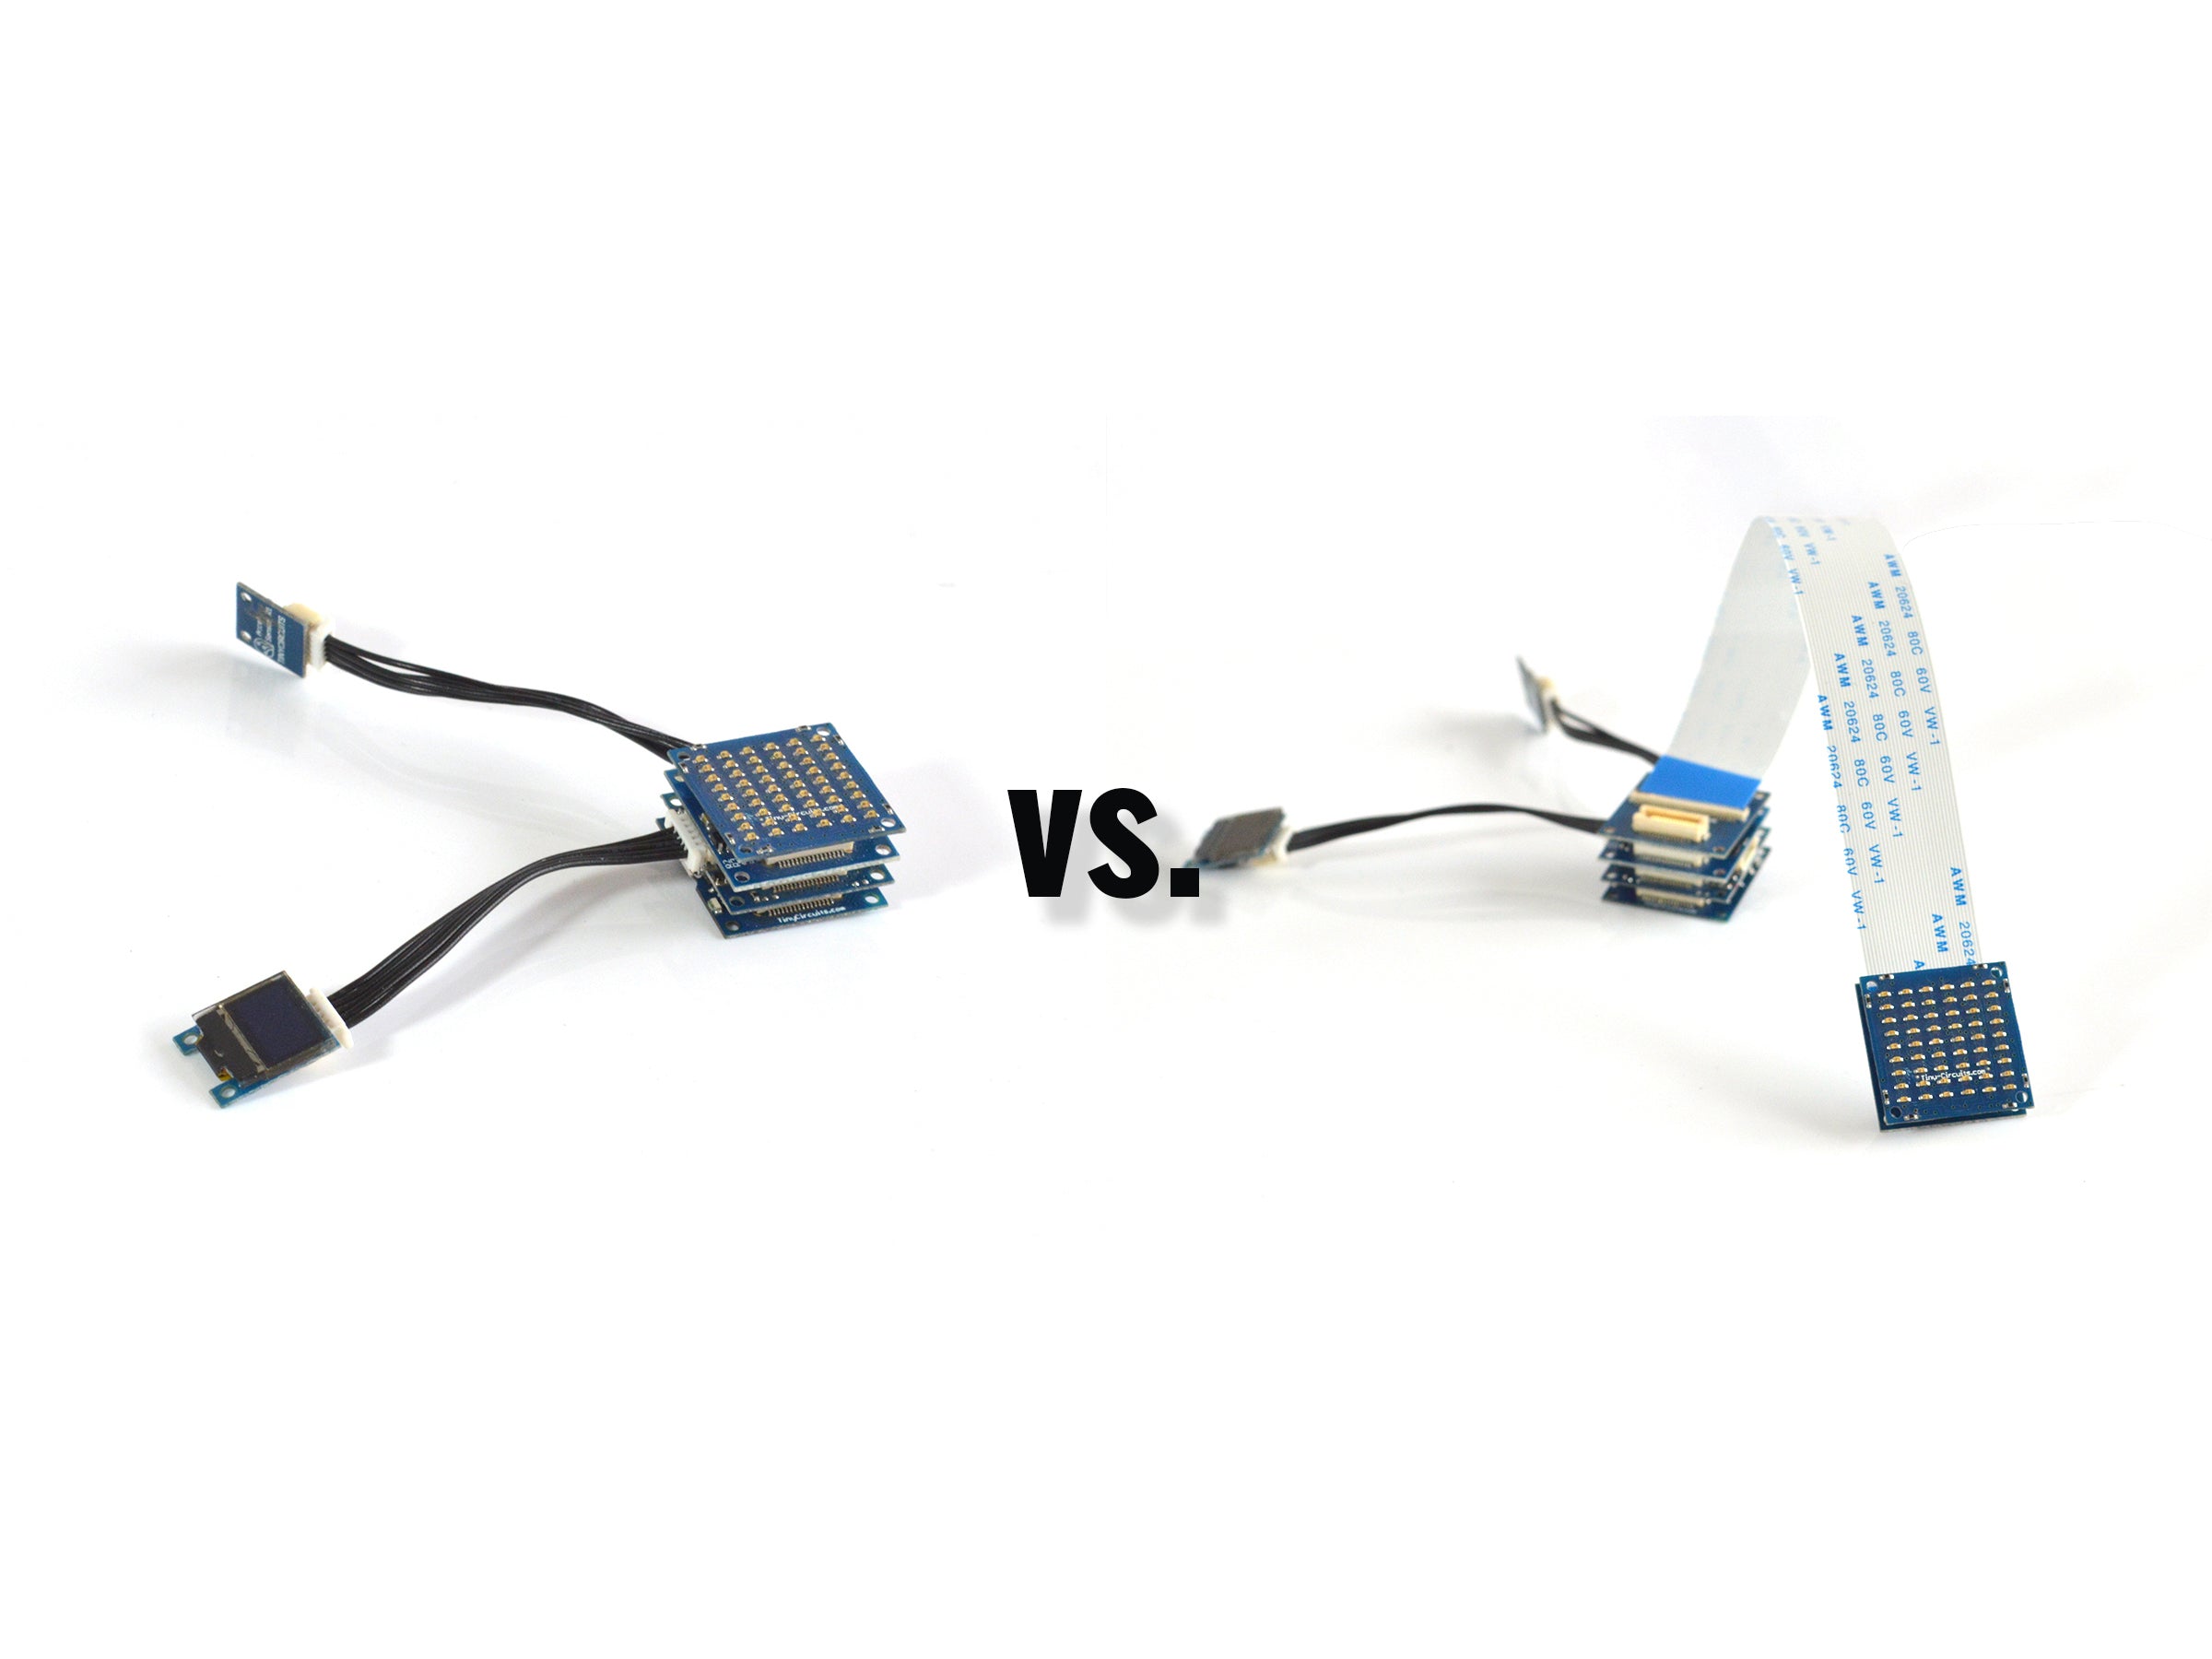
The main line of TinyCircuits boards stack together different components to create a project with all the necessary components in a quarter-sized stack. This stacking of a few boards is a great solution in a lot of scenarios, but sometimes hardware projects need to be even tinier, or thinner!
Needing a thin solution for a project including TinyCircuits often comes into play for diorama projects that might include a Tiny Video Player kit playing some videos, or a Matrix LED TinyShield displaying flashing LEDs.
For example, a thin solution was necessary in this N-Scale Drive-in movie theatre made by Jim Hewitt with a Tiny Video Player kit to make the stack of boards thinner for the screen enclosure:
Jim was able to achieve a thinner solution using a Ribbon Cable Extender TinyShield.
Materials
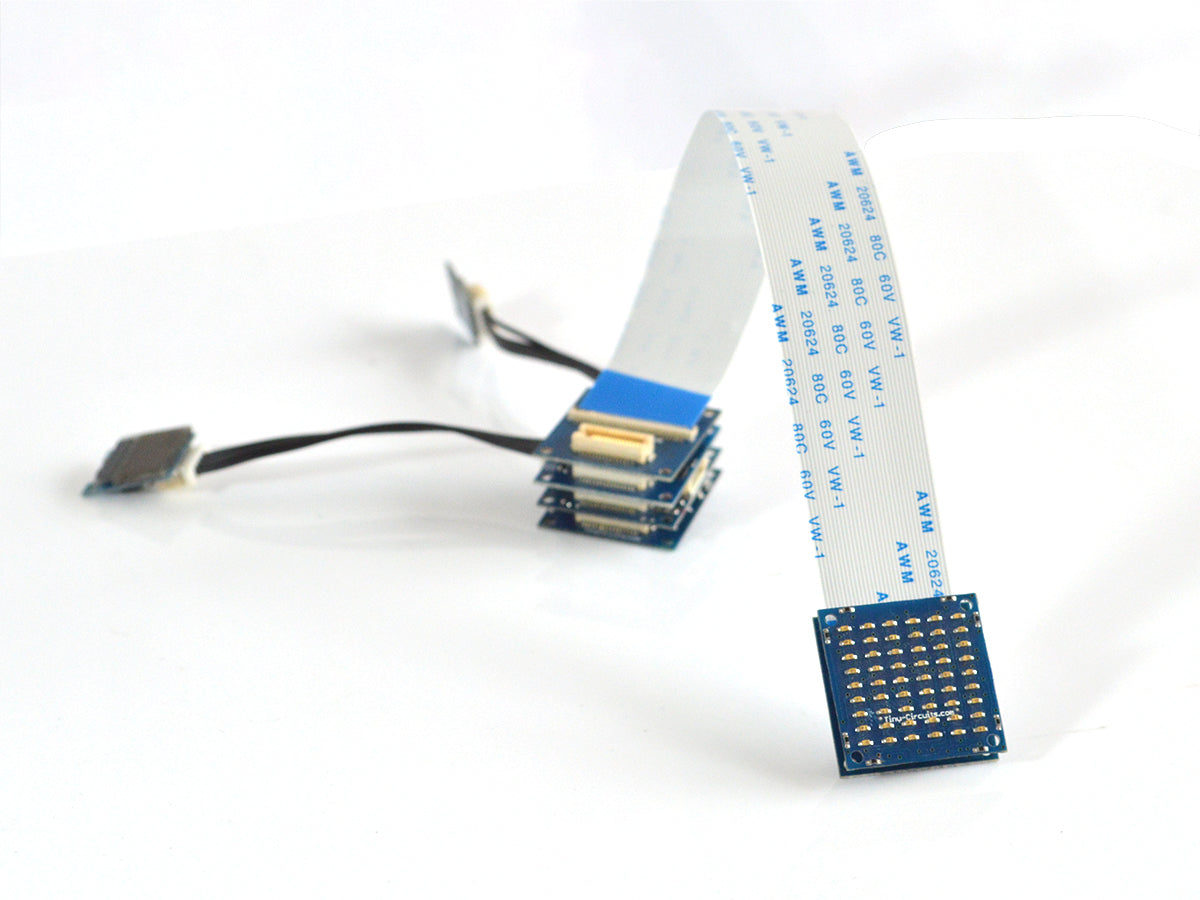
The easiest and best way to cut down on height in a TinyCircuits project is to use the Ribbon Cable Extender TinyShield. This TinyShield creates an instant, pluggable solution to extend hardware components 6 inches away from each other with a paper-thin ribbon cable.
Hardware:
- Any amount of compatible TinyCircuits boards, and:
- Option 1: Ribbon Cable Extender TinyShield
- Option 2: Two Proto Board TinyShields, wires for soldering, and soldering equipment
Hardware Assembly
Option 1: Ribbon Cable TinyShield
To use the Ribbon Cable Extender TinyShield and extend your project, you need to assemble the Ribbon Cable TinyShield:
- Gently lift the thin black piece of plastic up so that it is no longer flat against the circuit board.
- Slide the ribbon cable into the connector with the black plastic lifted so that the blue strip is facing up and the metal contact points are facing down toward the board.
- Once the ribbon is pushed into the connector, push the black plastic toward the cable so that it fastens the cable into place.
- Repeat the above steps for the second circuit board.
Then you just need to attach either side of the Ribbon Cable Extender to the different stacks of boards.
Option 2: Soldering Wires with Proto Boards
Needed:
- 2 Proto Board TinyShields (You can use the standard Proto Board TinyShield, or the Proto Terminal Blocks board that is larger, but easier to solder)
- Wire for soldering
- Soldering equipment (iron, solder, etc.)
- Recommended: Helping Hand Soldering Aid
This option requires more time and equipment, but it may suit your project better if you need a distance greater than 6 inches, or if the width of the Ribbon Cable is undesirable.
The first step is to decide what board or boards need to be extended away from the processor board. For example, if you want to separate the boards in a Tiny Video Player kit - the main processor board is the TinyScreen+ and the board you want to extend from the TinyScreen+ is the MicroSD & Audio TinyShield.
To make the correct solder connections, you need to know what pins are used by the extended board(s), in this case: the MicroSD & Audio TinyShield. All boards need to be connected to the VCC and GND pins from the main processor board. Then you need to know any additional pins used. Pins used other than VCC and GND are noted under "Tech Specs" on the product page of each TinyShield product. The pins used for the MicroSD & Audio TinyShield are pins 10, 11, 12, 13, A0, and 3.
The 8 pins required to use the MicroSD & Audio TinyShield all need a soldered connection between the Proto Board TinyShields. Meaning, you will need to solder VCC to VCC, GND to GND, pin 10 to pin 10, etc. Once these 8 wires are soldered between the two Proto TinyShields, the wired proto boards can be attached between the two boards to extend the TinyScreen+ from the MicroSD & Audio TinyShield.
Practically speaking, this solution to extend the space between the TinyScreen+ and the MicroSD & Audio TinyShield does not make the project much thinner since the Proto Board TinyShields still needs to be attached to the both boards, making the main components still 2 boards thick. Yet, it removed the overlapping size of the microSD Card and speaker that would be plugged into the MicroSD & Audio TinyShield.
Contact Us
If you have any questions or feedback, feel free to contact TinyCircuits support or make a post on the TinyCircuits forum.
Show us what you make by tagging @TinyCircuits on Instagram, Twitter, or Facebook so we can feature it!
Thanks for making with us!