Customizing your DIY TinyTV Kit

Customizing your DIY TinyTV Kit is fun and allows you to get creative and make it yours. We recommend if you are going to paint your TinyTV do so before assembly. This is a basic step by step tutorial on how to customize your TinyTV, there really is no right or wrong way, any color scheme goes - the only rule is to have fun! There is also a short video on customizing your DIY TinyTV Kit.
SUPPLIES
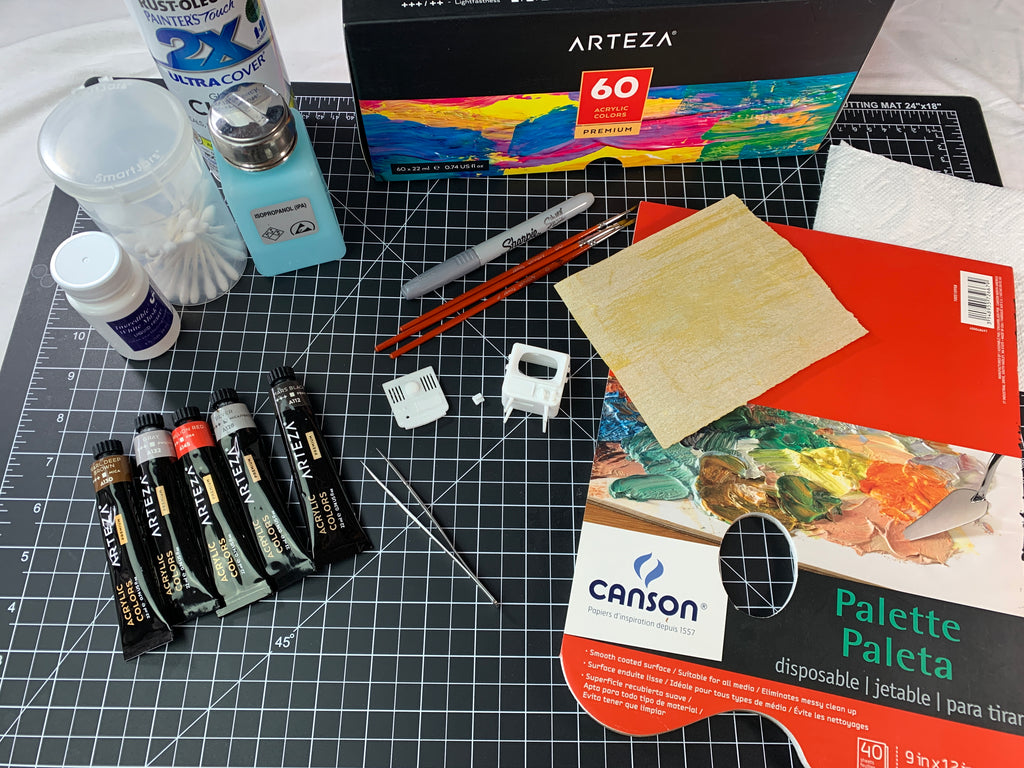
- Primer -(optional) Used to prep your surface before painting
- Fine grit sandpaper- (optional) Used to smooth out the 3D printed TV housing
- Paint acrylic or enamel will work best, we use Arteza brand acrylic
- Paint palette
- Small paintbrush
- Tweezers will come in handy
- Filtered water for cleaning your brush
- Masking tape or Liquid Frisket
- Q tips
- Lint-free cloth or paper towel
- Metallic sharpies work well too instead of paint
![]() PREPARATION
PREPARATION
These steps are completely optional although I will say it does help the paint to go on a lot smoother and knocks down a little bit of the gritty texture of the 3D printed TV housing.
Sanding
Using fine-grit sandpaper gently brush off the top layer on all sides and crevices of the TV the best you can. Then wipe off with a lint-free cloth to remove any remaining dust.
Primer
Primer is optional but will help smooth out the surface and allow the paint to go on more evenly. You can use a brush on or a spray-on primer, just make sure to choose a primer that is plastic compatible, common paints like acrylic or enamel will be compatible with this type of primer too.
If there are parts of the TV that you do not wish to prime or paint, try taping them off with masking tape or using a masking paint like Grafix White Mask Liquid Frisket. The liquid frisket does work well to keep paint from getting on parts that you don't want, however, I found it a little difficult to get off once it has dried. Gather your materials and predetermine your color scheme before you get started.
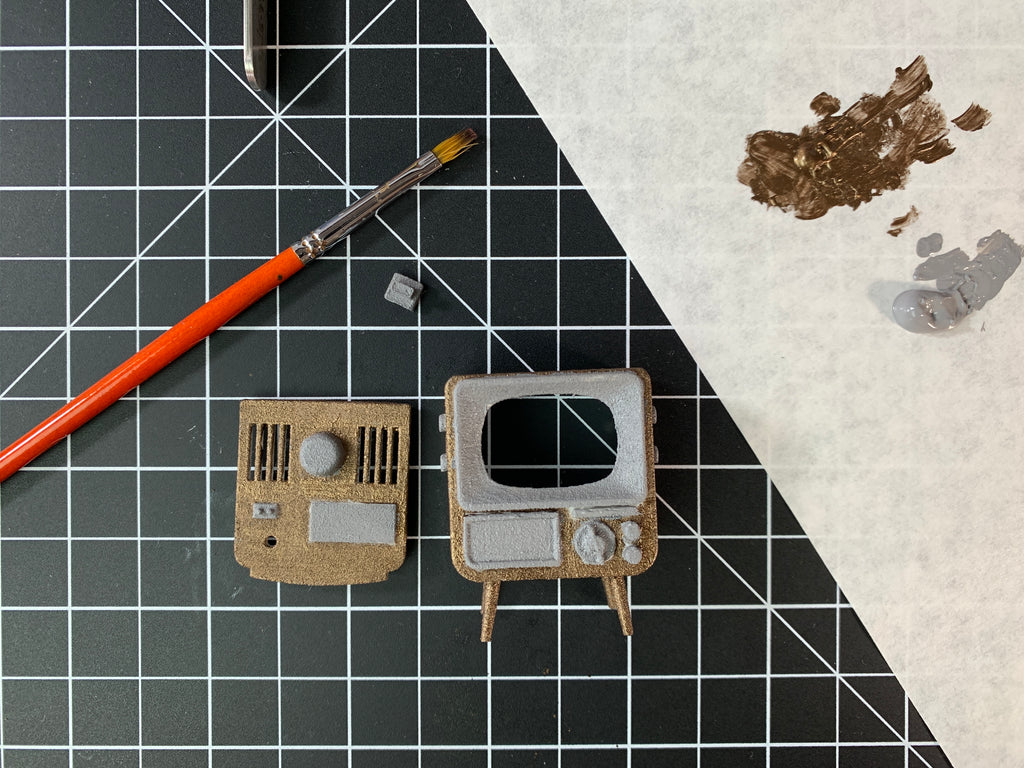
BASE COAT
Note: If you don't want to paint your TinyTV, we've also experimented and found that metallic sharpies work well too, have good coverage and come in a variety of colors
Patience is truly a virtue when it comes to painting your TinyTV, its small size and tiny buttons make this slightly difficult to do - but so much fun and oddly therapeutic! Small, flat paintbrushes seemed to work well and the best types of paint to use on your TinyTV are acrylic or enamel based paint, we use Arteza Brand acrylic paints but any type of acrylic paint will do.
Basecoat
- If you did not prime your TV, wipe it off with a lint-free cloth to remove any remaining dust or impurities from the printing process.
- For the base coat, just one application should be enough, this creates the foundation for you TinyTV - then touch up any spots that need a little more attention. It is best to start with your basecoat first and then details can be added in later. Chances are you will mess up, but don't worry! You may want to keep some q-tips handy in case you mess up, you can dampen and wipe off the best you can. If you're using acrylic paint you can always touch up the spot that you messed up and coverage should not be a problem.
- Using a dry brush rather than a wet brush will allow your colors to come out darker and more even. Using a wet brush will make the paint more opaque.
DETAILING
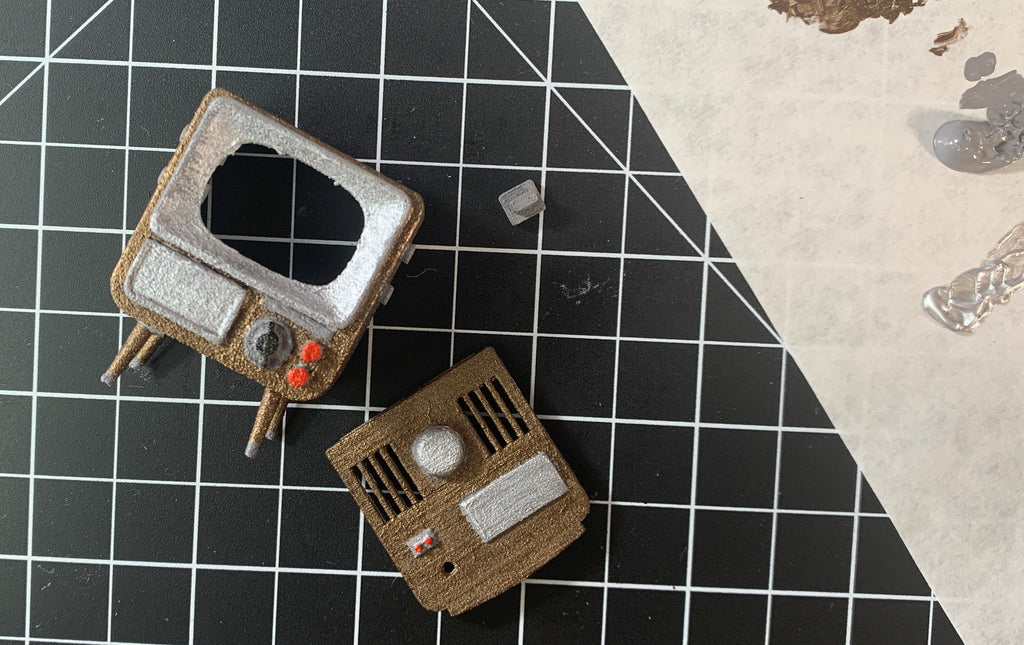
Give your TV some time to dry after you have completed your base coat and any necessary touch-ups. There are a variety of techniques that can be used to give your TinyTV a more finished look. Allow for plenty of dry time and practice your technique on paper or another smooth surface before applying to your TinyTV.
Dry brushing is great if you want to add a realistic wood grain texture for a more midcentury modern look. A fan-shaped brush will be very useful if you want to try this technique.
Washing is useful for painting negative, or indented, features for instance around the screen area or before you dry brush. Washing involves diluting your paint so that is is very thin with low viscosity. Acrylic paint can be diluted with water, enamel paint requires a solvent.
Stippling can also be used to add detail to buttons, switches or knobs adding additional texture to your parts. This involves depositing small droplets of paint onto a surface. A small stiff dry brush would be best for this technique, you may also want to try diluting your paint for this method.

We hope you have fun customizing your DIY TinyTV Kit and making it your own! Get creative and share your work with us on Instagram and Twitter @tinycircuits or on Facebook. You can also post any tips or tricks that you discover along the way on our forum!