TinyDuino Video Games Tutorial
Note: This page mentions an obsolete product that is no longer manufactured. For the full list of obsolete products, please visit the obsolete section of our store. If you would like to use a discontinued product, please view the obsolete section of our Wiki for tutorials. For any further questions, contact TinyCircuits customer support, or post on the TinyCircuits forum for more information.
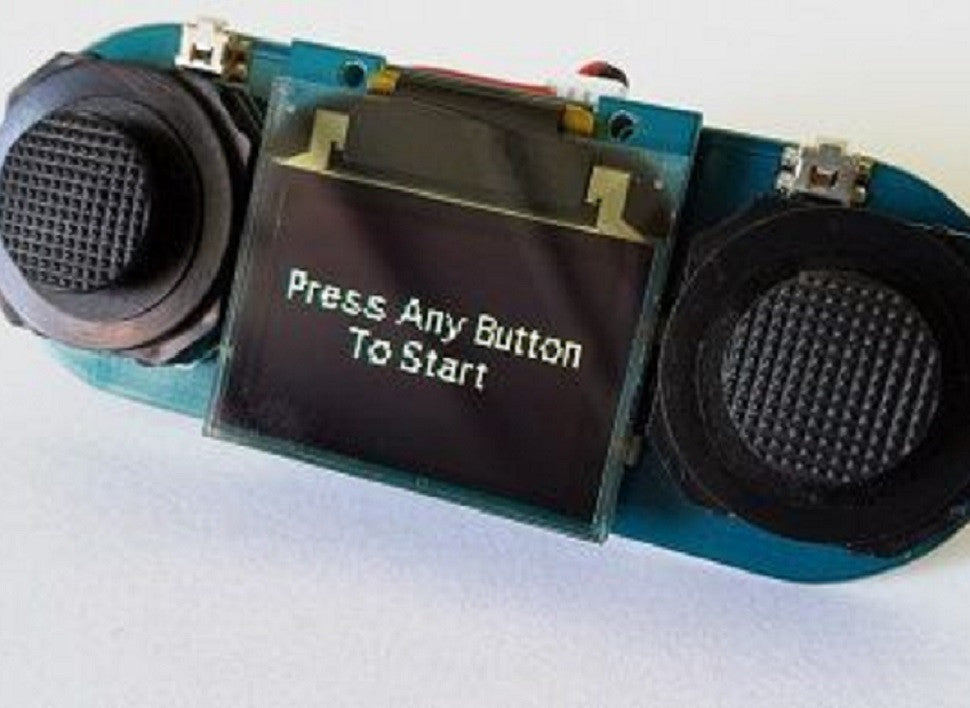
Here's a way to create your own Tiny Video Game console using the TinyDuino. This uses the main TinyDuino processor board, a Joystick board, and the TinyScreen. Several game examples are currently given such as a Flappy Bird clone, simple Mario clone, Asteroids, Space Invaders, and many more are being developed.
Step One: Materials

Step Two: Charging

To charge your battery, attach the USB TinyShield to your processor board and plug in your micro USB cable. An amber light will turn on to indicate the battery is charging. When charging is complete, the light will turn off.
Step Three: Programming the TinyDuino

To program your TinyDuino, plug in a micro USB cable to the USB TinyShield. Specify which COM port you want to use, and make sure your TinyDuino is switched ON. Click the Run on Arduino button using the Codebender plugins below. The first code segment provided shows the input of each joystick. The second is a simple Mario Jump counter that keeps track of how many Goombas you have killed. The third code block is the classic arcade game, Asteroids. And the fourth program provided is Space Invaders. There is also a blog dedicated to TinyDuino Games where new games and ideas are being discussed surrounding our video game kit that you can find here.