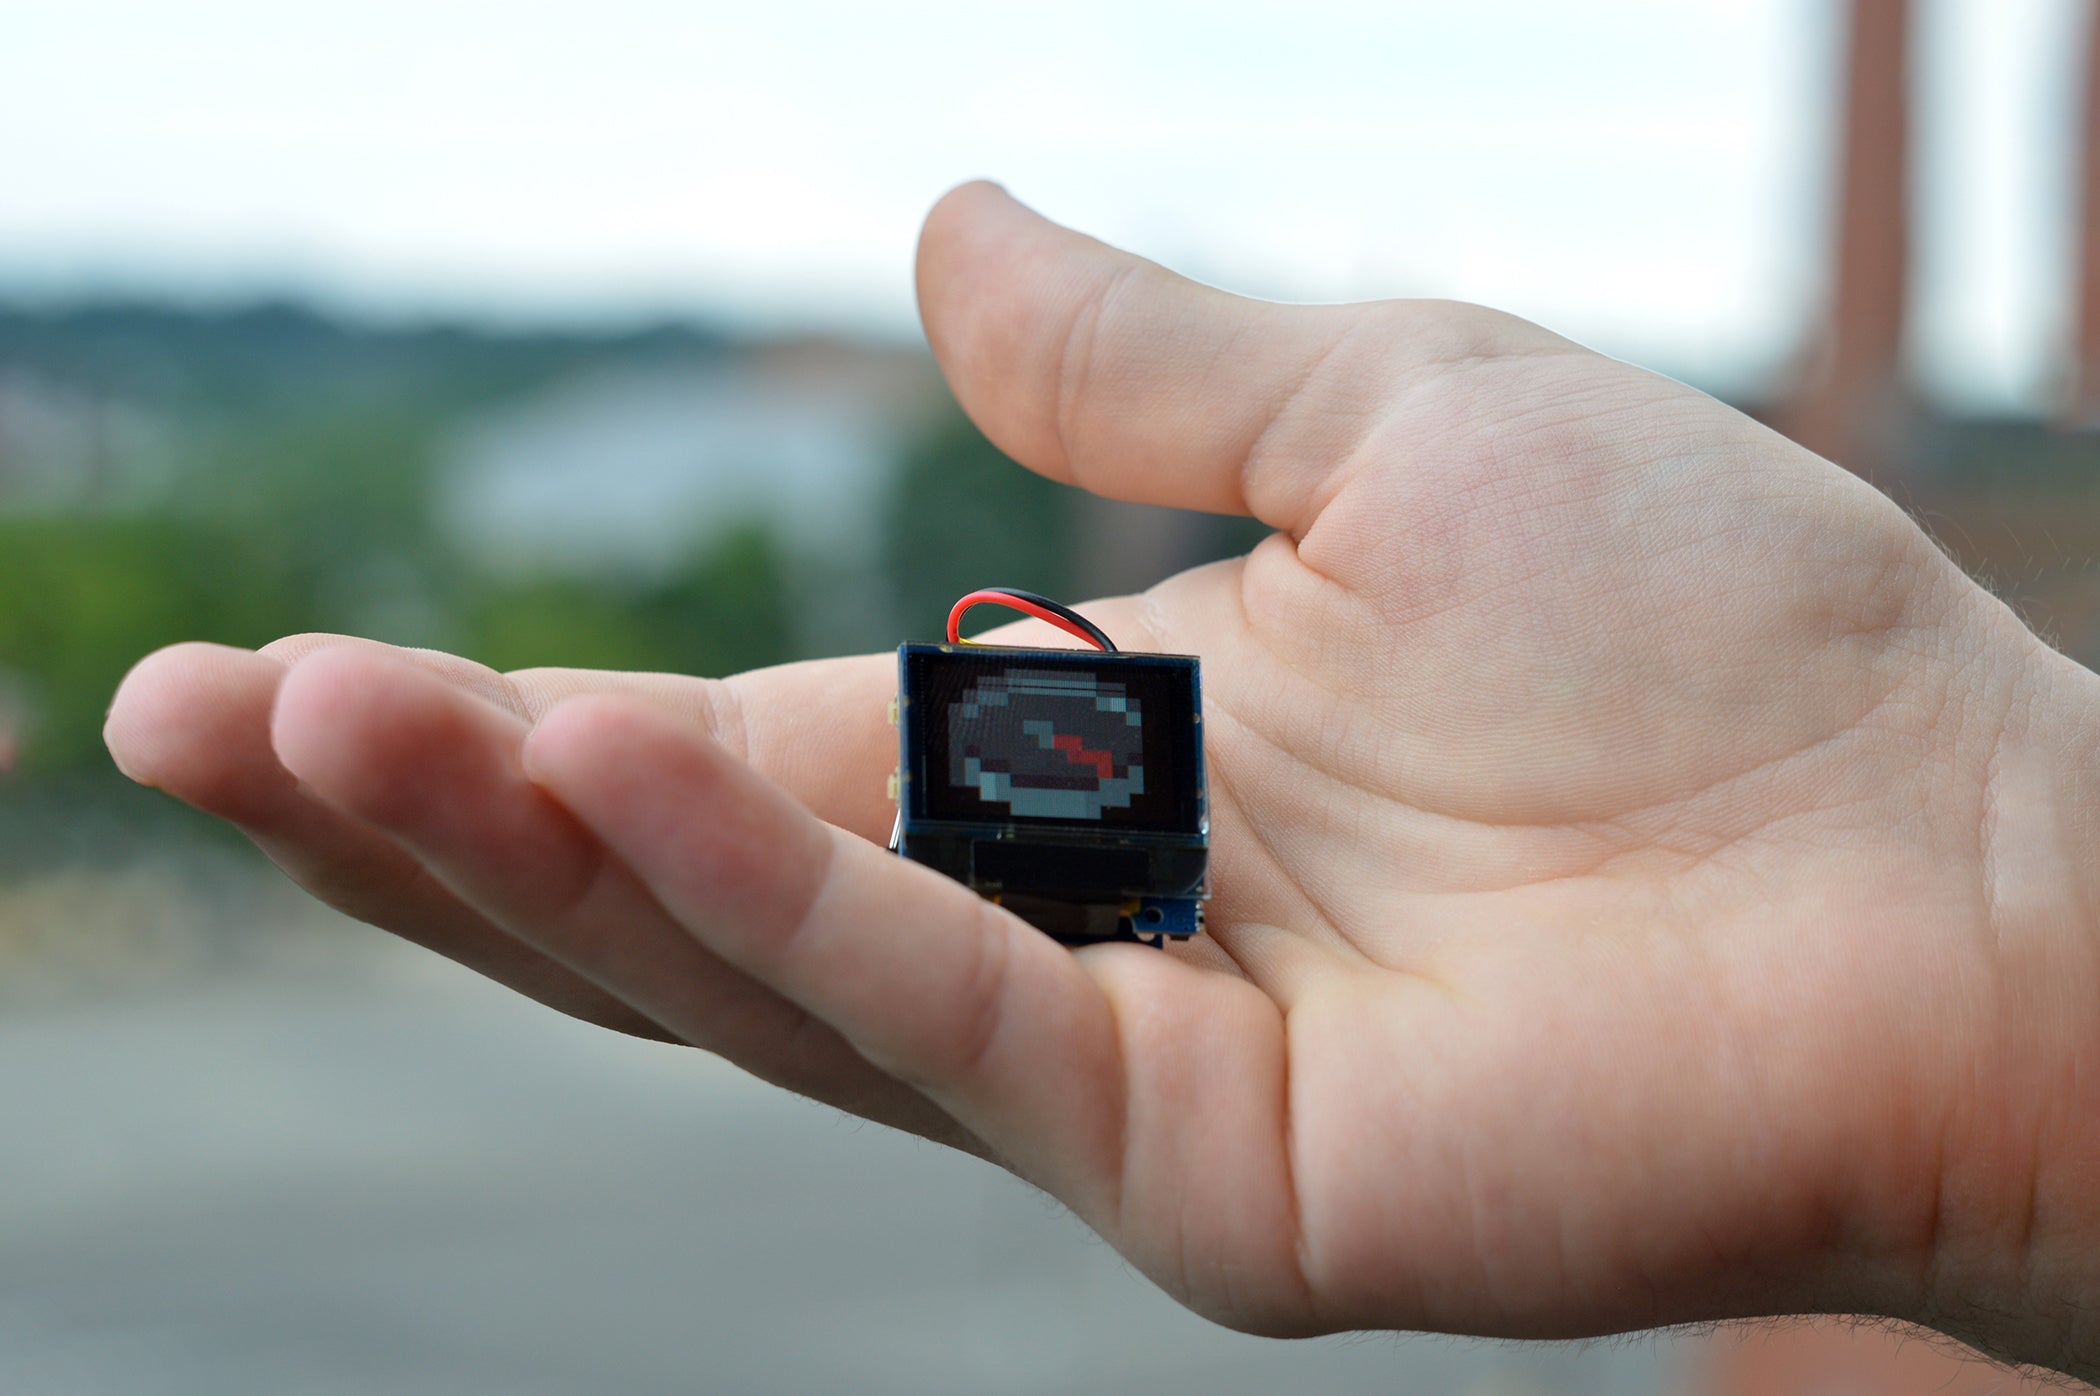
Minecraft Compass IRL
The compass TinyShield is extremely useful but can be difficult to interpret. In this tutorial, we aim to change that by providing you the code you need to convert x and y coordinates into a compass heading. Then, that heading is plotted with actual Minecraft compass textures! Let's explore!
MATERIALS
HARDWARE:
SOFTWARE:
Step 1: Trigonometry
In order to convert readings from the HMC5883L, we need to check out the datasheet. On page 4, this diagram illustrates that the x and y outputs represent the sides of a triangle. By taking the arctan of the ratio of these two outputs (arctan(y/x)), we are left with a heading angle with respect to North.
This table illustrates the cardinal directions of different headings.
| Heading | Direction |
| 0° | North |
| 90° | West |
| 180° | South |
| 270° | East |
Step 2: Finding your declination angle
Magnetic declination represents the difference between the Earth's magnetic north pole and true geographic north. Your magnetic declination will vary depending on your geographic location.
- Visit this website to find your current magnetic declination.
- Your result will be in the format degrees° minutes' as shown below:

- Now that you have found your magnetic declination, we need to insert it into the code.
- First, download the zip archive provided in the software section.
- Then, replace the number after the equals sign with your magnetic declination on line 38 of minecraft.ino using your preferred IDE or text editor:
float magneticDeclination = -8.433333333333333; // Find yours here: http://www.magnetic-declination.com/
Step 3: Uploading the Code
- If this is your first time using TinyCircuits products, please refer to the TinyZero Setup Tutorial or the TinyScreen+ Setup Tutorial to configure the Arduino IDE correctly.
- Open minecraft.ino in the Arduino IDE if you haven't already done so in step 2.
- Make sure that you have the correct port selected. The correct port number will vary, but your processor should appear to the right:

- Then, upload the code!

- Now, your TinyScreen+ is a portable compass!
Here are 3 useful usage tips:
- For the most accurate readings keep the TinyScreen+ parallel to the ground as we chose not to consider the z axis in our calculations.
- The red line points in the direction of the true North Pole if you have assigned the correct declination angle for your location.
- Readings can be distorted by nearby metal objects, magnets, or electronics.
CONTACT US
As always, if you have any questions or feedback, feel free to email us at info@tinycircuits.com. We would love to hear any ideas for improvement or new projects you were inspired to work on!
Show us what you make by tagging @TinyCircuits on Instagram, Twitter, or Facebook so we can feature it!
Thanks for making with us!!