Rocket Altimeter Logger
Step One: Materials

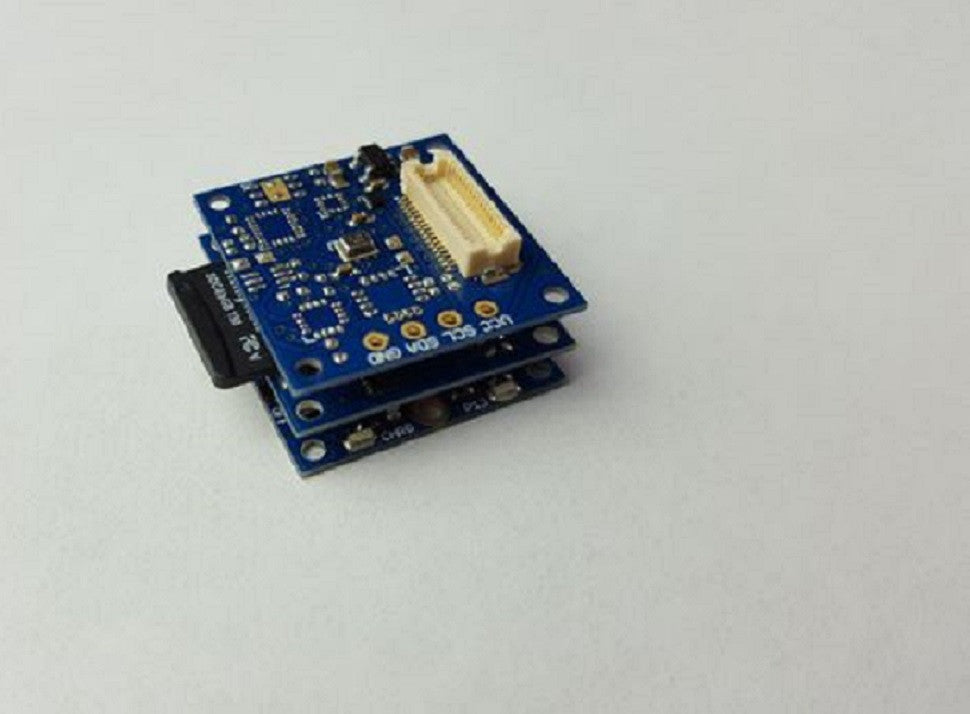
- TinyShield Barometric Pressure Sensor
- TinyShield MicroSD
- TinyShield USB
- TinyDuino Processor(Lithium Support)
- Lithium Ion Polymer Battery 3.7V
In order to charge your Lithium Ion battery, connect the TinyDuino to the USB TinyShield and plug in the USB chord. A yellow LED will turn on showing that the battery is charging and when the LED turns off, the battery is fully charged. The USB TinyShield does not need to be connected after programming in order for the data logger to work.
Drivers:
Before starting, the proper drivers must be installed to detect the COM ports. These drivers must be installed before downloading any codes from the codebender plugin. The drivers needed can be found here.
Step Two: Programming the TinyDuino

The program below can be downloaded to your computer or directly uploaded to your TinyDuino processor. The sensor used for the barometric pressure shield is the BMP280 from Bosch. The first sample of code shows the data coming from the sensor in the COM port while the second code logs the data to the microSD card. In order for the data to be logged, the SD card must be inserted before the TinyDuino is switched on. When the device logs a data point, a green LED on the processor will flash on and off. The code is setup to export the data points as a .csv file so it can be opened directly into Microsoft Excel. If you wish to change the file format, locate the DataFile[] character array and change "csv" to your desired format.
Step Three: Testing the Data Logger

To test the code, the device was dropped off of the fire escape to see how fast data could be recorded. The initial height is 922.84 feet above sea level and the final height is 882.86 feet above sea level. The device was dropped between data points 13 and 44.
Step Four: Installing the Logger


For our rockets, the nosecones were large enough to hold the altimeter comfortably. Every rocket is different, so get creative with its placement! (just make sure to keep it safe from the ejection charge!)
Step Five: Rocket Data

Here you can see the graphed data from each of the launches. Launches one and two are the data sets taken from the rocket shown in the previous step while sets three and four were taken from another rocket which did not survive the second landing. During the first two launches the parachute did not deploy completely causing the rocket to "tumble" as it fell causing the bumpy descent.