Using the Audio TinyShield Tutorial
Overview:
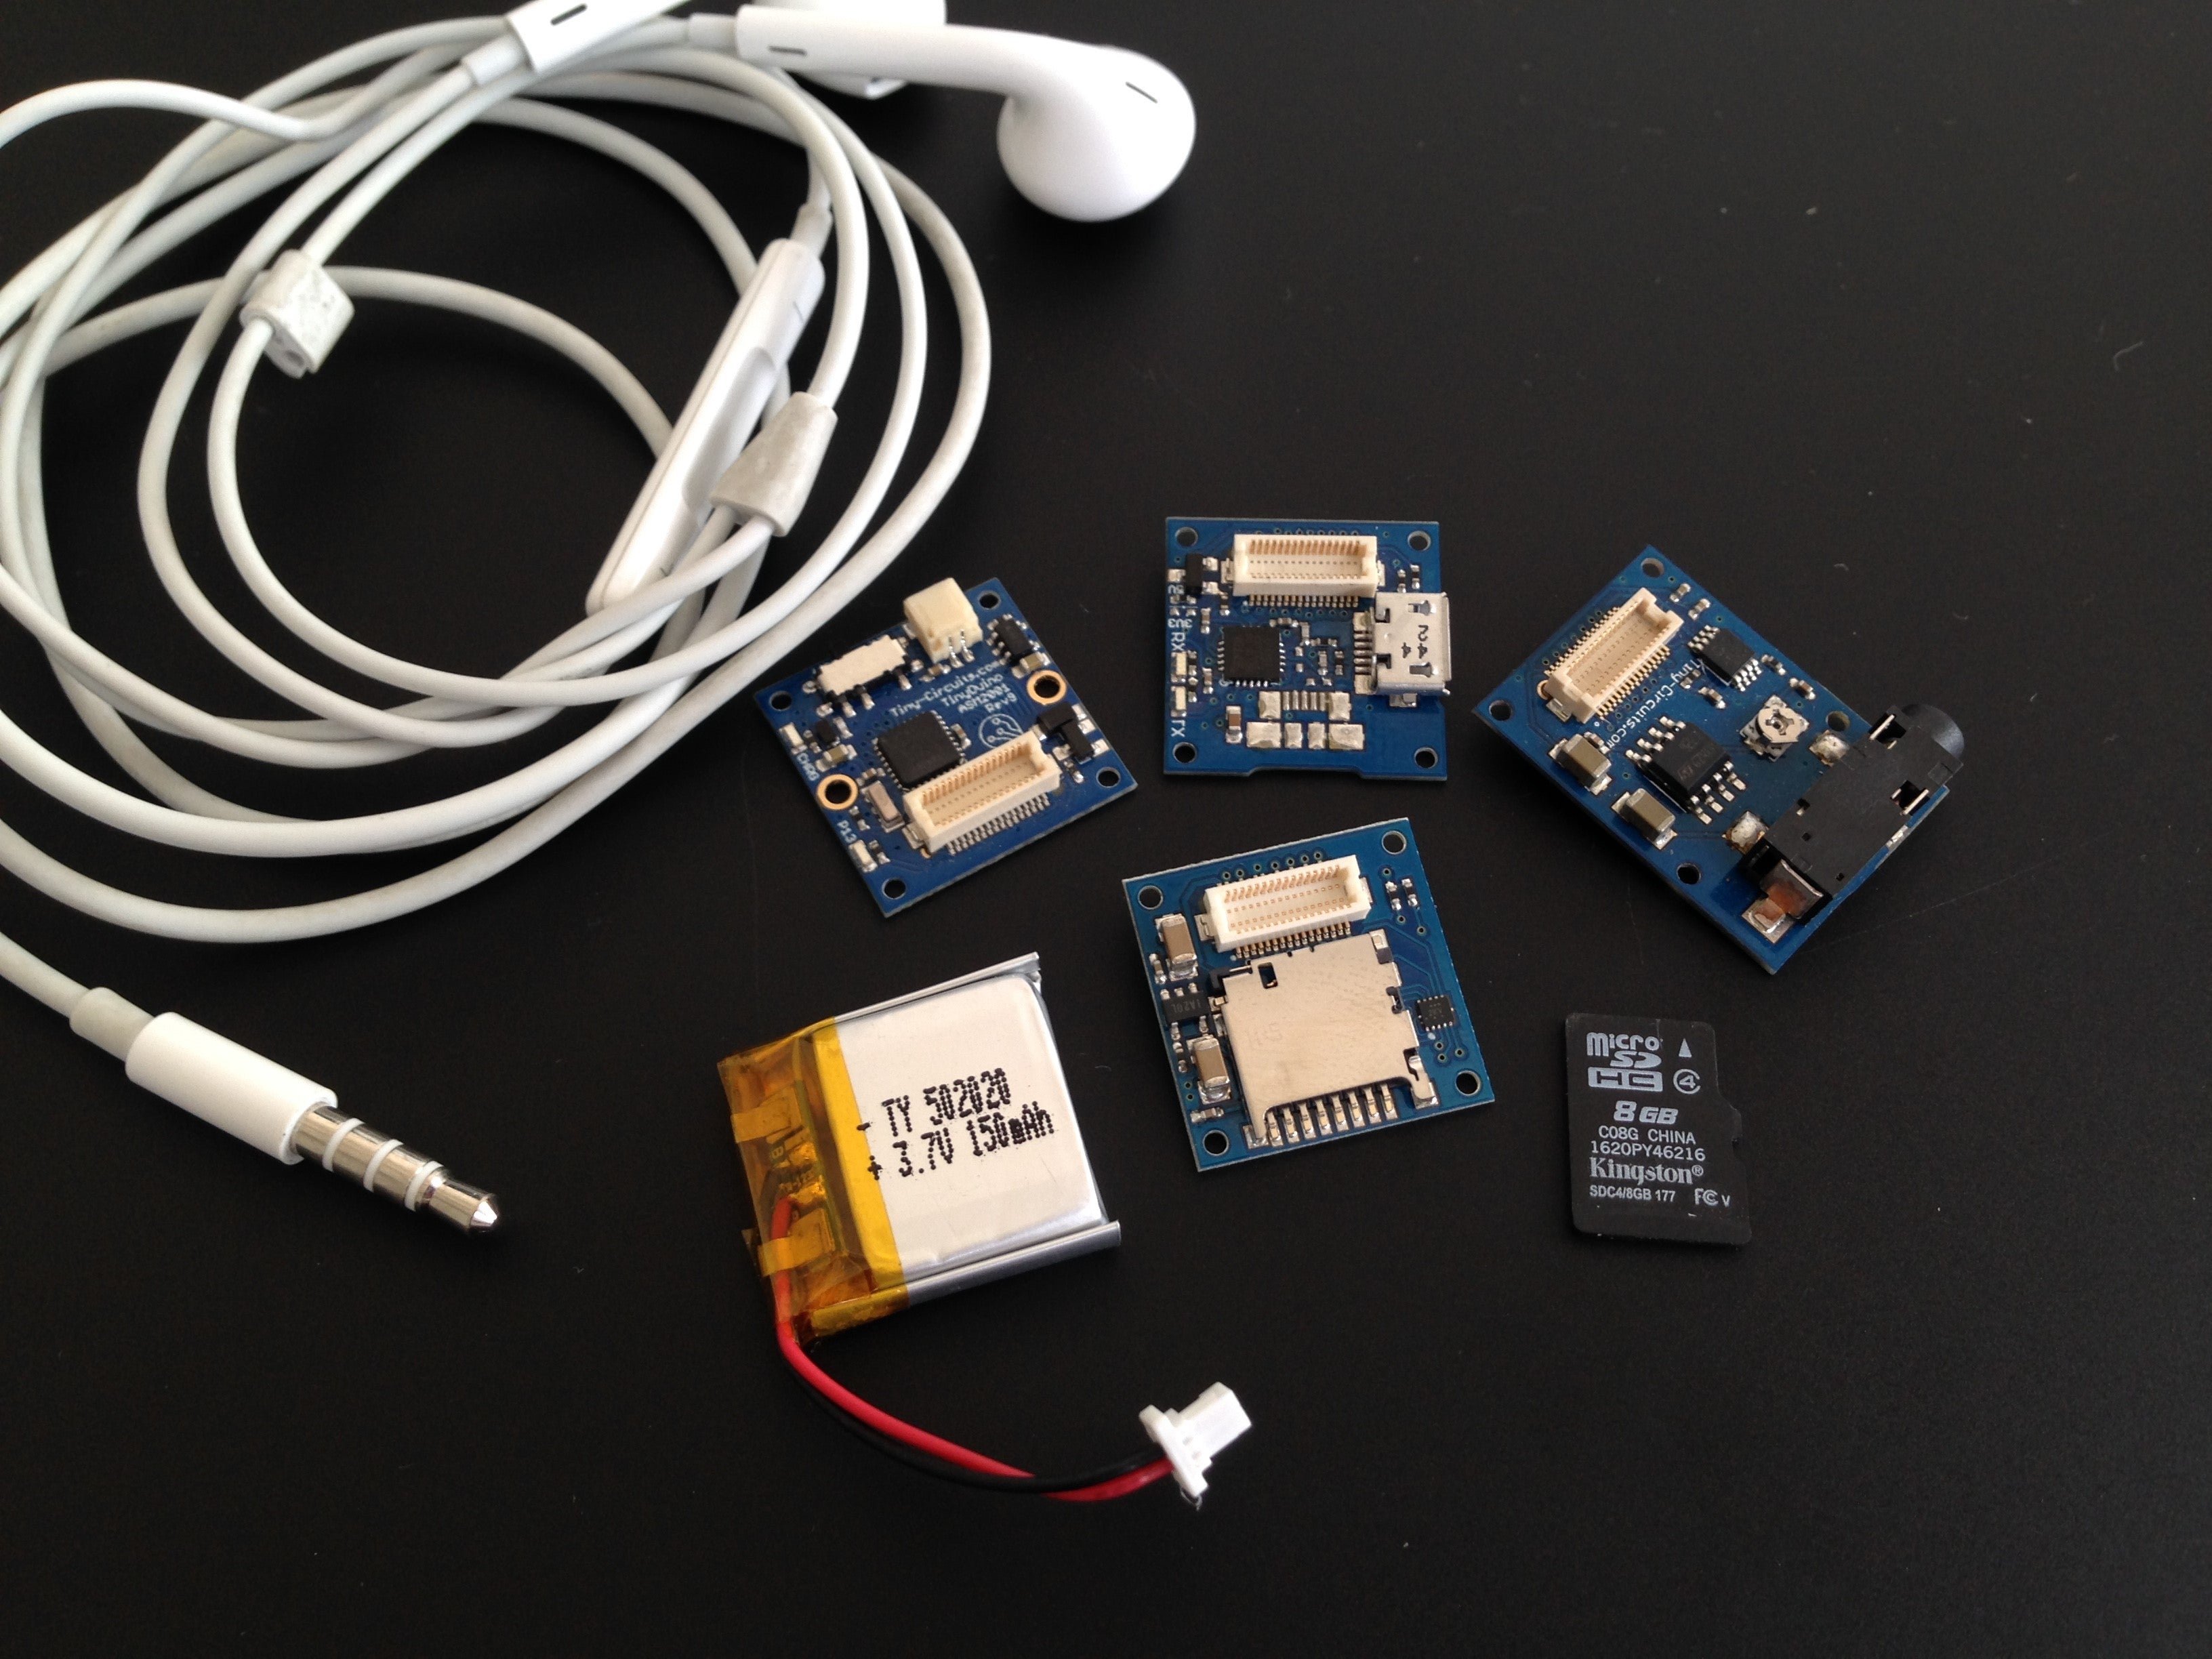
The TinyShield Audio makes it incredibly easy to add audio support to your TinyDuino projects. It has an onboard DAC, filter and amplifier for great sound quality. It can play any size uncompressed 22kHz, 16bit mono Wave files (.wav) directly off a microSD card (a TinyShield microSD Adapter is also required for this).
Powering the System
The Audio amplifier and the microSD card take more power than a coin cell battery can supply, so external power is required (such as USB), or from a larger battery.
The Audio TinyShield can be run across the entire TinyDuino voltage range (2.7 to 5.5V)
Using the Audio TinyShield
The Audio TinyShield uses three signals to create a synchronous serial connection to the DAC which generates the audio output, and this TinyShield is compatible with the waveHC library from Adafruit. Below is a sample sketch to get the audio data to play:
1. Plug in your TinyDuino to your computer with the USB TinyShield, the microSD TinyShield and the Audio TinyShield attached
2. Load the file "song1.wav" onto the microSD card from your computer. Then put the microSD card into the microSD TinyShield. You can download a sample song1.wav file here that will work: download
3. Upload the code using Codebender directly from this webpage. Alternatively, open the Arduino IDE and copy the source code above into it, and upload to the TinyDuino.
4. Plug in your headphones or powered speakers to the 3.5mm headset jack on the Audio TinyShield, and you should here the wave file being played

Adafruit Wave Shield Compatibility
The Audio TinyShield is completely compatible with the Adafruit Wave Shield for the standard Arduino, and they have great documentation on some more advanced things that can be done with this. Check out their Wave Shield documentation here.