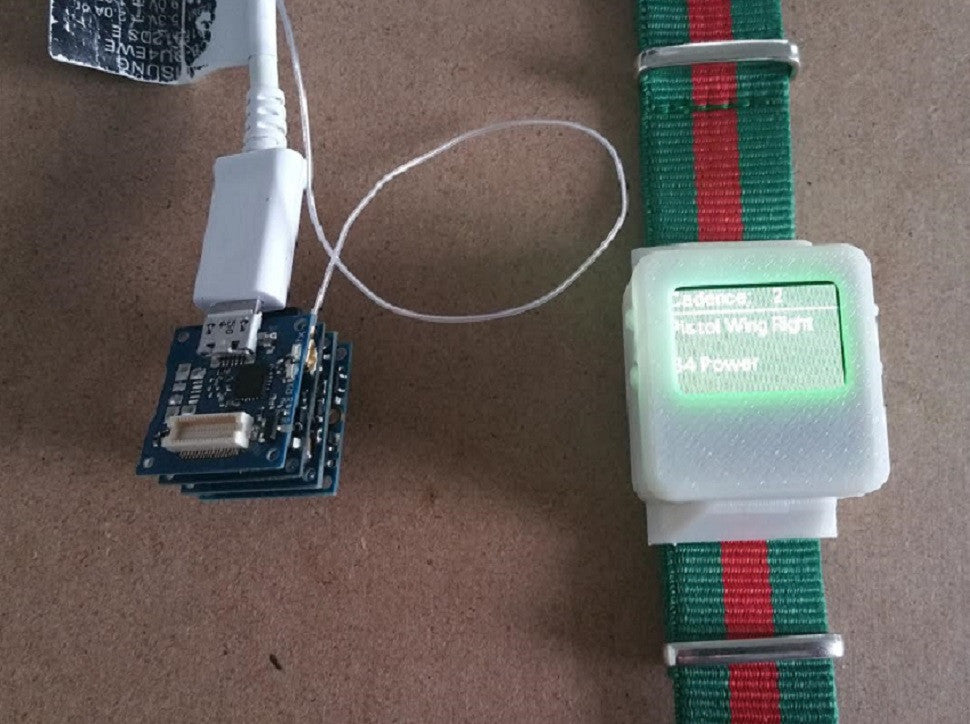
Football Play Calling Watch Tutorial

Downloads and Materials
Before starting, the proper drivers must be installed to detect the COM ports. These drivers must be installed before downloading any code from the codebender plugin. The drivers needed can be found here:
Materials Needed:

- OLED TinyScreen
- TinyShield 433 MHz Long Range Radio (2x)
- TinyDuino Processor Board (2x)
- TinyCircuits LiPo Battery Pack(140 mAh)
- TinyShield USB module
- TinyShield MicroSD module
- MicroSD card and MicroSD reader
- SmartWatch Enclosure
Set up the Play Caller (for coaches)
Step One: Assembly
Plug the male end of the TinyShield USB module into the female plug of the TinyDuino Processor Board. Plug the male end of a 433 MHz Radio into the female plug of the USB module, and then insert the MicroSD module into the radio module.
Step Two: Get the Playbook
Plug the microSD card into the microSD card reader, and insert the reader into the SD port of the computer. Upload an offensive or defensive playbook with the file name, "Playbook.txt", to the microSD card. Reference the sample file below to format the Playbook.txt file correctly. You can also download a sample "Playbook.txt" file here:
Notice how every play uses three lines. The first line is a 3-digit play number (2 numbers and a letter). The second line is the play formation, and the third line is the play itself.
Step Three: RadioHead Library
Download the RadioHead library to your Arduino library repository if you have not already. This library can be downloaded here:
(Note, you do not need to download this library if you plan to run the programs straight from the codebender plugins below. These libraries have already been included there)
Step Four: Programming
Insert the microSD crd with "Playbook.txt" into the TinyShield MicroSD module. Plug the board stack into a USB port on your computer and upload the code below to the board.
Step Five: Calling a Play
Open the serial monitor of the IDE. In order to call a play, enter the 2-digit play number followed by the letter that corresponds to the formation, and then this is followed by a single-digit snap count. The exact formats for play calls will vary greatly depending on how you format your playbook, but it is imperative that play calls be four characters in length. An example would be "07e2" whereas the "07" represents the play number, the "e" represents the formation, and the "2" signals that the snap count is on two.
Setting up the Play Receiver(for players)
Step One: Assembly
Plug the male end of the 433 MHz Radio module into the female plug of the TinyDuino Processor Board. Plug the male end of the TinyScreen into the female plug of the radio module. Lastly, plug the battery into the TinyDuino.
Step Two: Programming
Upload the following code to the board stack using a USB TinyShield. Remove the USB TinyShield after uploading the code.
Ready to go!
Unplug the boards from the computer and plug the TinyCircuits LiPo battery pack into the board, and turn the screen on. The player is now ready to receive play calls from the coach.

