TinyCompass Tutorial
Overview
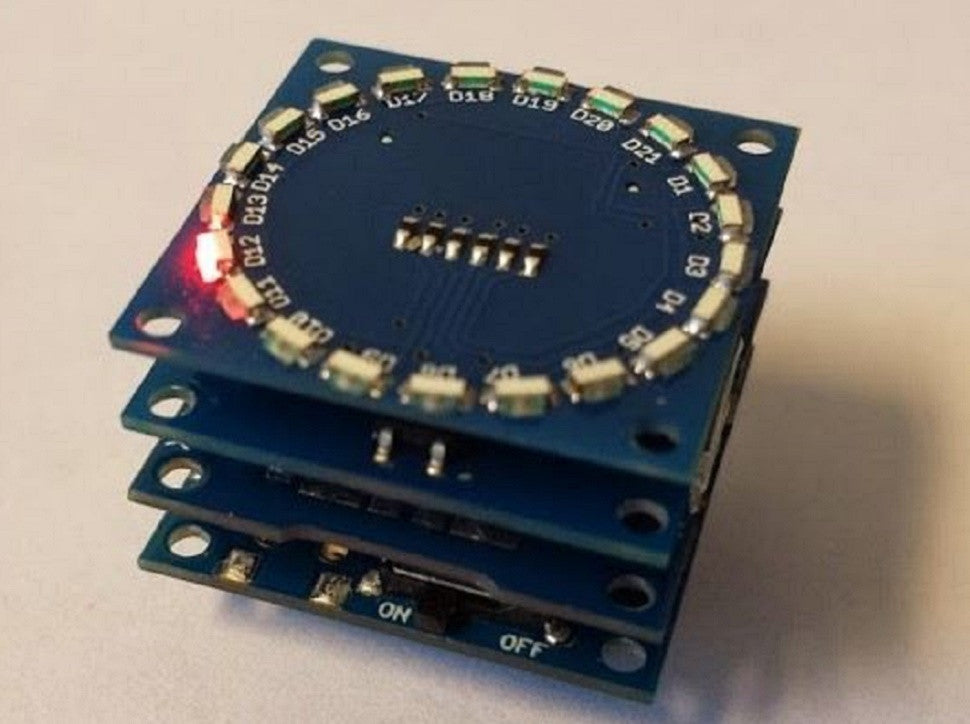
In this demo, we will be building a compass using the TinyShield Compass in addition to the Circle Edge LED Shield and TinyDuino Processor Board.
Step One: Materials

- TinyDuino Processor w/coin cell battery holder
- TinyShield USB
- TinyShield Compass
- TinyShield Circle Edge LEDs
- CR1632 3V coin cell battery
Step 2: Programming the TinyDuino
Before starting, the proper drivers must be installed to detect the COM ports. These drivers must be installed before downloading any code from the Codebender plugin. These drivers can be found here.
The code below was used for the TinyCompass and has comments throughout to help explain what is going on. The magnetometer used for our compass board is the Honeywell HMC5883L 3-axis compass. This code can be downloaded to your computer or directly uploaded to your TinyDuino processor board.
Step 3: Calibration


After your TinyDuino has been programmed, you can remove the USB Shield. Each time you turn on or restart the processor, you will need to calibrate it. to calibrate, simply rotate the stack of boards 360 degrees on each axis(the gifs above show exactly what to do). We now have a fully functional TinyCompass! Because of how sensitive the HCM5883L chip is to ferromagnetic materials, certain metals (magnetized or not) within a two inch radius of the chip will cause disturbances.