Self-propelling Propeller Hat using TinyLily
I recently learned the term Propeller-head is defined by Merriam Webster as "an enthusiast of technology and especially of computers."
So since I am exactly that, I decided to make myself a propeller hat using the TinyLily Motor board!
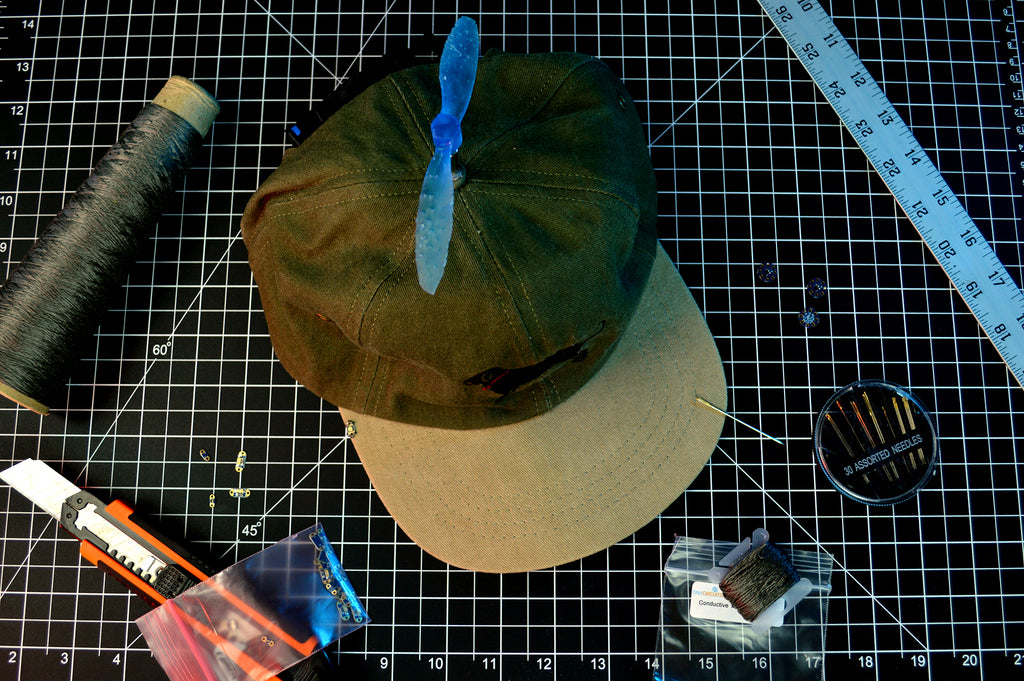
Materials

Hardware:
- TinyLily Motor Board - to control the motor attached to the propeller
- Lithium Ion Polymer Battery & Battery Holder - my power source
- TinyLily Switch - to turn the propeller on and off
- Stainless Steel Conductive Thread - how I made my electrical connections get it with some additional thread and needles!
- A motor - make sure it fits with your propeller and you can supply enough power!
- Basic soldering equipment (soldering iron, solder, heat shrink / electric tape)- recommended for project construction
Software:
- None!!
Extras:
- A propeller - you can buy one, find one, make one, or print one!
- A hat - Dog hats are preferred, but all are welcome
- A needle
- Regular thread
- Spare fabric
- Hot glue gun & glue
Background / Unnecessary Fun Facts:
The very first propeller hat was created by Ray Faraday Nelson and presented in 1947 for a regional science fiction convention. Him and his friends dressed up in improvised costumes to take joking photographs imitating the covers of science fiction magazines. After its unintentional debut, it was worn at a world convention, where it was an enormous hit. The propeller hat quickly became a symbol to portray science fiction fans in comics by Nelson, and many other publications afterwards. It was popularized by a children's television program Time for Beany, sold in magazines, and became a popular toy prize at carnivals.
And now you can make an automatic propeller hat to pay homage to all of the science fiction fans that have come before you!
Planning
It took me some time, and in depth stares at my hat to figure out the nicest looking way to build the necessary circuit within the hat without setting my hair on fire, or making the hat uncomfortable. Here's a sketch of the circuit:

TinyLily Motor Controller Circuit Connections
If this is your first time using the TinyLily Motor Controller, I suggest you read through the basic tutorial to understand the above electrical connections:
The first example in the TinyLily Motor Controller Tutorial uses the same electrical circuit as this project, minus the incredible propeller and hat.
Hide or Show Components?
I wanted to hide as many connections and components as I could so that the hat would maintain a clean look. Also because I am not the neatest with hand sewing. You may decide to show off your components, and that's great!
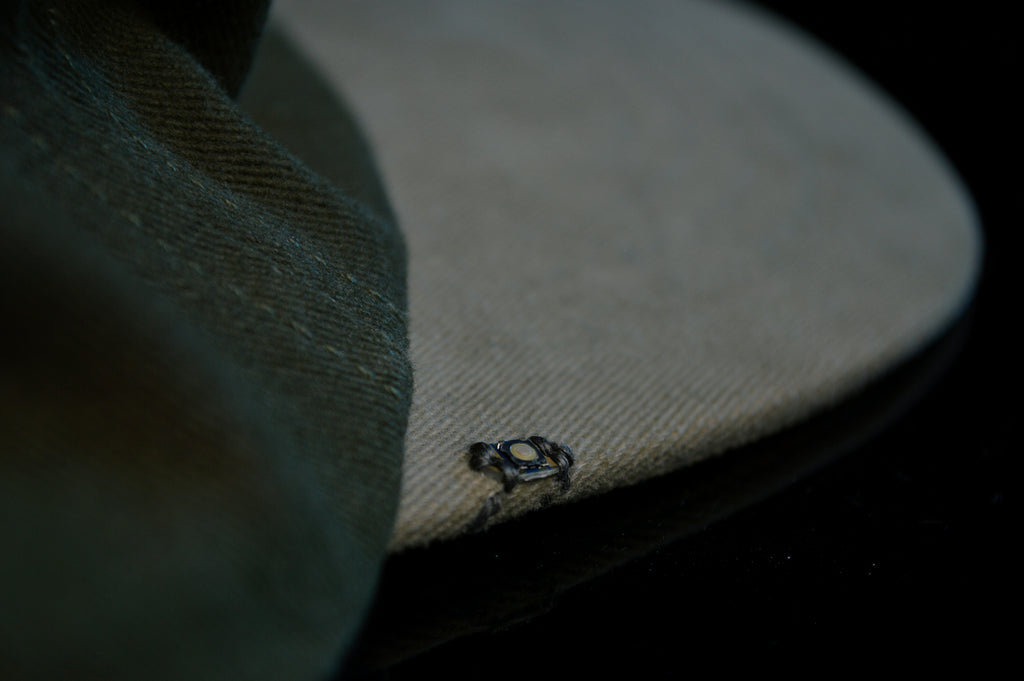
I ended up keeping the switch slightly visible on the right-hand visor of the hat so that I could easily turn the motor on with my right hand. I hid the wires of the motor by cutting some threads at the top of my hat and tucking them through, while keeping the motor visible on top of the hat. The TinyLily Motor Controller was tucked into the sweatband of the hat, and the battery pack was very expertly taped to the back strap of the hat.
If you need help identifying what part of a hat is the visor, sweatband, or strap, you can look at this helpful page.
Power
Before making your project you need to make sure that the motor and power source you are using are compatible together. If you do not supply enough voltage, your motor will not do anything! And that would be a shame. ;0
I usually choose to use LiPo batteries in my wearable projects since they are small, and rechargeable. The TinyLily Motor Controller, however, doesn't have a JST connector to plug in a battery easily. So I decided to use a single battery holder with a battery to power my project so that I could easily exchange the battery in the future.
If you choose to build onto this project with some logic control using the TinyLily Processor, then I would definitely recommend using the Battery adapter and a LiPo battery since the battery is much smaller and ideal for wearables.
Difficulties I encountered
- I didn't measure out the length of wire necessary to make the circuit until everything was in the hat. So I ended up doing a lot of "in hat" soldering.
- Hand sewing hat fabric is not the easiest. It's thicker than most fabrics I've used, and the shape is awkward to handle.
- Integrating a clunkier battery (battery holder and battery) than what I originally wanted to use (a LiPo.)
- I'm afraid I'll set my hair on fire at some point, but I'm pretty sure that's just me.
Assembly: Sewing & Soldering
Protip: You may want to open the Circuit Connections diagram in another window/tab so that you can easily reference it for this section.
Find a hat you want to propeller-ify and plan out where you want to put everything. The sweatband of my hat was a perfect place for me to tuck most of my wires:

Power & Switch
With the choice to have my switch on the right hand side, I decided that's where I would put my motor board too. I placed it down in a way that minimized my lengths of connections (specifically the IN1 tab of the TinyLily Motor Controller facing the direction of the switch placement) and began sewing the power rail.
Thread a needle with conductive thread, and tie a knot at the end. Stitch the knot about a 1/2" away from the first tab you plan to sew in order to keep the knot at a distance from the TinyLily Motor Controller so that the small strands coming off the knot do not risk any shorts. You can also wax your thread to help minimize any possible shorting issue before using it if it frays easily.
Sew your way to the VM tab to begin making your first tab stitch. Once at the VM tab, sew 2-3 different stitches through it to ensure a good connection.

To continue the power rail, stitch a path to the VCC tab while steering clear of the GND tab. A path about 1/2" away will leave you plenty of space later to make the GND connection without a risk of a short. This spacing is especially important if you are only using conductive thread.
To finish the power rail connections on the TinyLily Motor Board, you just need to connect the SLP tab to power. Since the VCC tab is right next to it, you can sew directly from the VCC tab to the SLP tab to make this connection. The SLP connection is necessary as the Sleep Input needs a logic high "1" to put the motor controller in the normal operating mode. No SLP, no motor, no fun, so make sure you are doing 2-3 stitches for your connections!

The last connection to make with this thread is to a side of the switch. (This is assuming you are soldering your power source later like I did.) With the switch connected between the power rail and IN1, the switch when pressed will allow current to flow and the motor to spin.
You can stitch over to your placement of the switch from the power connections on the TinyLily Motor Controller. If placed on the top of the visor, you can likely sew through into the fabric on the visor pretty easily to make your connection. Leave plenty of space for the thread that will connect from tab IN1 to the other side of the switch.

To finish off the power rail, you just need to tie a knot. You can backtrack your stitches in order to tuck the knot back into the sweatband and out of the way.

Snip snip
To complete the switch connections, you need to sew the other side of the switch to the IN1 tab on the TinyLily Motor Board. Leave a comfortable amount of space between the stitched paths from the different sides of the switch.

A happy, secure, Tiny button
You can backtrack your stitches to tie off the knot of this thread in the sweatband as done with the other side.
Motor Connection
To make the propeller hat, the propeller should be at the top and center of the cap. I made a small cut between the seams of the back of my hat to stuff the wires of my motor through. You then need some sort of adhesive to make the motor sit upright on the top of the hat. Unless you have naturally sticky motors, of course.

A hot glue gun worked really well for me to get the motor upright.

With the wires stuffed through, you can continue the connections from the inside of the hat. If your hat is flexible enough, I would advise turning it inside out so you don't risk knocking off your motor. You can also wait to glue the motor until later.

If your motor wires weren't long enough to reach the TinyLily Motor board, you can solder more wire with heat shrink or electrical tape at the soldered joints so that you do not risk the joints touching and creating a short in your hair.

I secured the wires with some non-conductive thread to the extra fabric inside the hat so that they would stay in one place and better survive being worn.
Solder the motor wires to the TinyLily Motor Controller tabs O1 and O2. The wires can be attached in any order, they just each need their own tab.

Try your best not to get solder on your shirt like me!

I don't know how this happened
Battery Pack
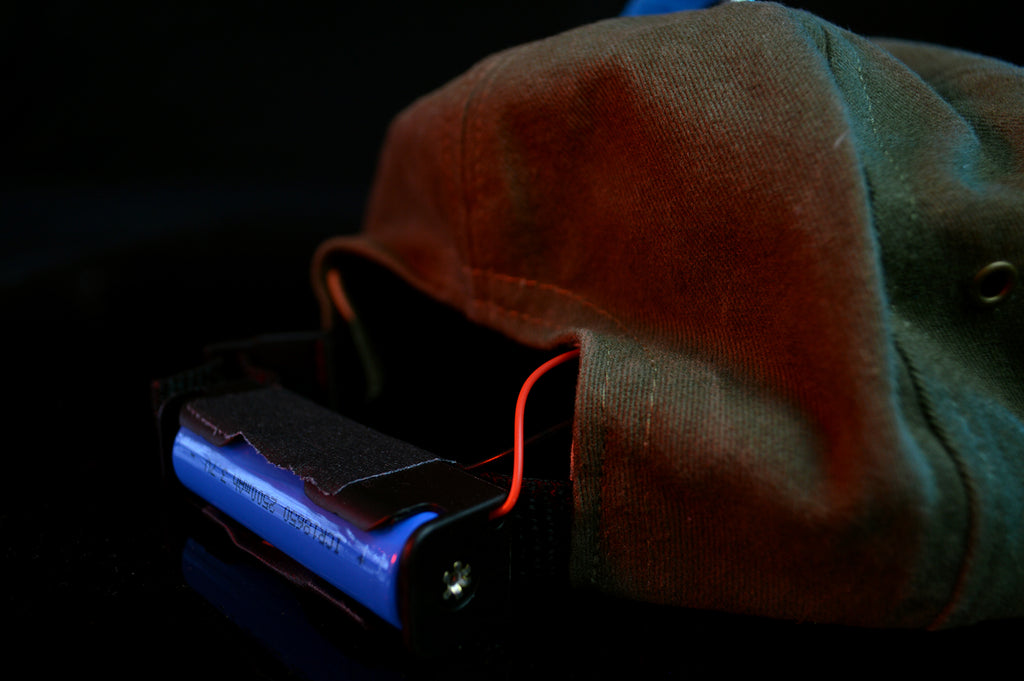
I secured my battery pack to the back of my hat with some strong tape, and then made sure the wires were going toward the right side of my hat to connect them to the TinyLily Motor Controller.
Since I used stainless steel conductive thread, I could put the positive lead of the battery pack through one of the tabs threaded for power and solder it without burning any thread. The ground wire needed to be a little longer, so I attached more wire and heat shrink before soldering it to the GND tab.

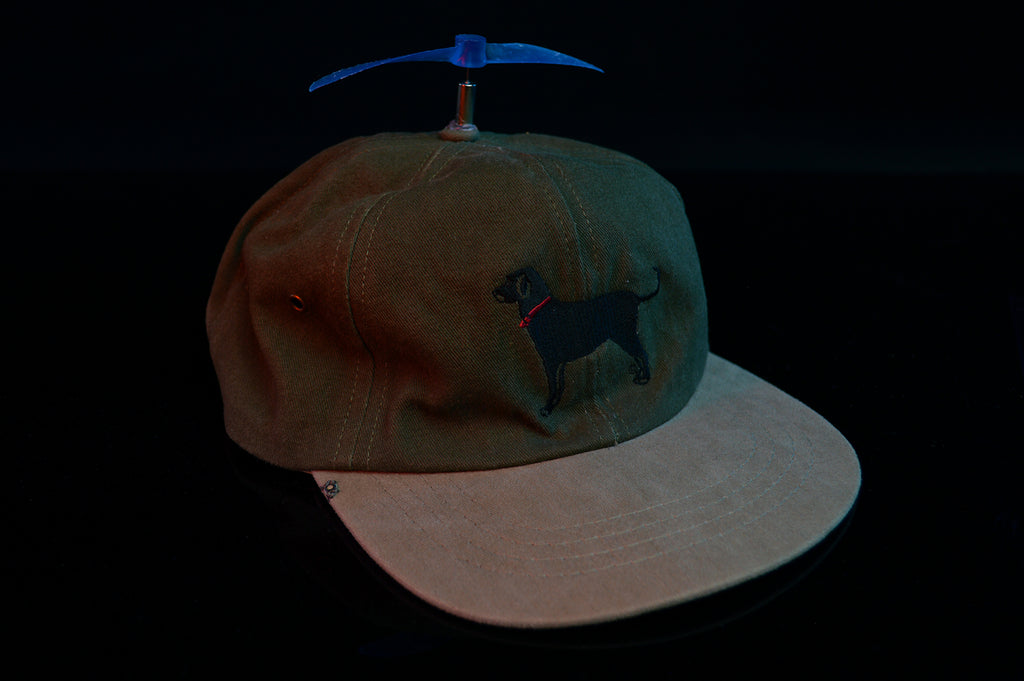
With all that done, the circuit is complete!

All you need to do is attach the propeller of your choice, and maybe some beads to emulate the classic propeller hats of the past.
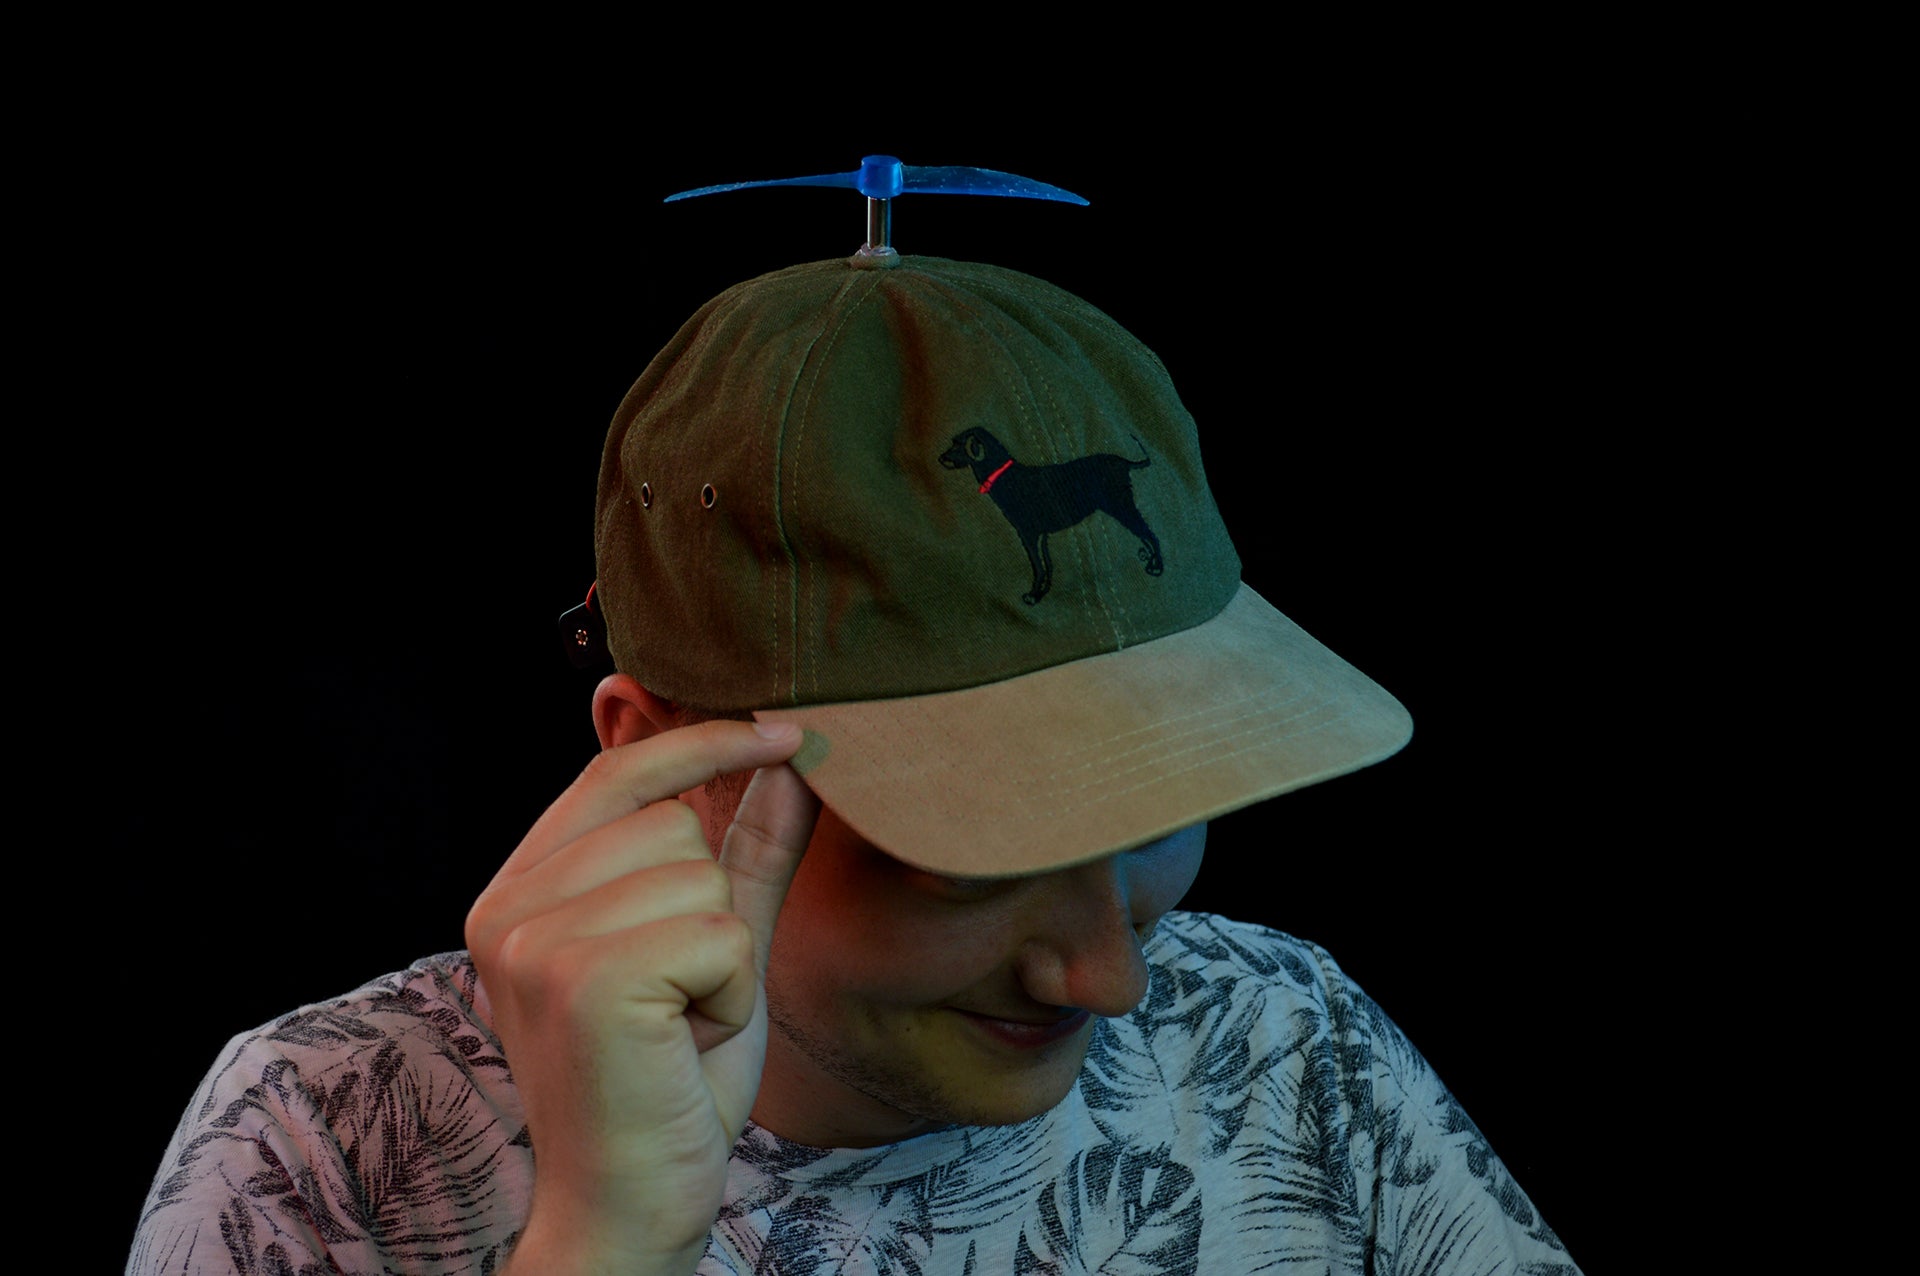
Big thanks to Hunter for being the spinny hat model!!
And now, you're a propeller head.
Contact Us
As always, if you have any questions or feedback, feel free to email us at info@tinycircuits.com.
Show us what you make by tagging @TinyCircuits on Instagram, Twitter, or Facebook so we can feature it!
Thanks for making with us!