TinyDuino Robot Controller
Note: This page mentions an obsolete product that is no longer manufactured. For the full list of obsolete products, please visit the obsolete section of our store. If you would like to use a discontinued product, please view the obsolete section of our Wiki for tutorials. For any further questions, contact TinyCircuits customer support, or post on the TinyCircuits forum for more information.
Step One: Materials

Using our 433 MHz radio boards, we will create an RC car. All components used can be found below for those who did not receive our kickstarter Robot Control Kit.
Components:
- TinyDuino Processor (2x)
- TinyShield 433 MHz Long Range Radio (2x)
- TinyShield USB
- TinyShield Motor x4
- TinyShield Joystick
- OLED TinyScreen (optional)
- LiPo Battery Pack
Step Two: Drivers
Before starting, the proper drivers must be installed to detect the COM ports. These drivers must be installed before downloading any codes from the codebender plugin. The drivers needed can be found here.
Step Three: Receiver Preparation


On the receiving end, a few modifications were made to the processor and motor board since only one battery was used. Headers were soldered onto the motor board where the motors and battery will plug into. On the processor, you can see that two wires have been soldered to the battery connector so that the motor board can receive power.
Step Three: Receiver Assembly


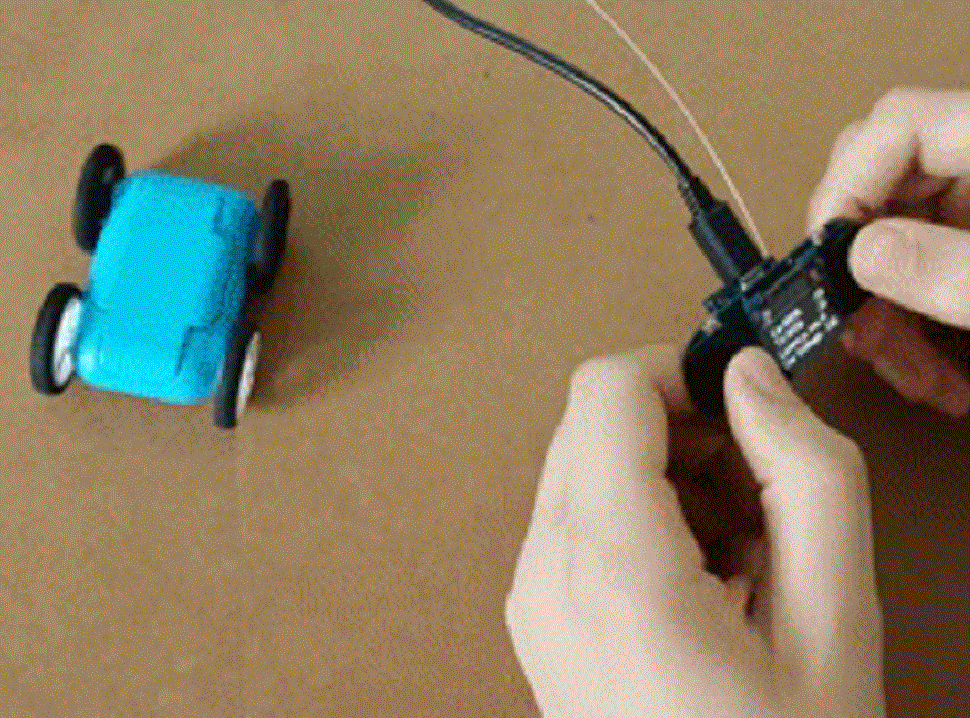
Assemble the stack, plug the power from the processor into the motor board, and plug the two motors into the motor 2 and 4 spots. You can solder the wires directly from the motors and processor to the motor board, we used headers to make things a bit more convenient if one of the motors were to break or we wanted to add an extra battery. Take your USB board and plug it into the top of the stack to charge your battery. Use the code below to program the receiver.
Step Four: Transmitter
To setup the transmitter, all that is required is to upload the following code. On the screen, the transmitter strength, packet delay, and voltage of the receiver will be displayed. Begin by turning on the receiver and then turn on the transmitter. If no connection is established, simply turn the transmitter off and on again.