How to use the SAMD21 built-in Real-Time Clock with TinyCircuits
The Atmel SAMD21 is an amazing processor with a lot of built in functionality that previous processors, like the popular ATmega328p found in the TinyDuino, lack.
The example highlighted in this tutorial will show you how to display the date and time using the SAMD21 internal Real-Time Clock. This tutorial can be used with all of our SAMD21 processor products: TinyZero, TinyScreen+, RobotZero, and the WirelingZero
If you want an example on how to use the Real-Time Clock on the TinyScreen+, check out the TinyScreen+ RTC Time Display, External Interrupt & Sleep Mode Tutorial.
Materials
Hardware:
Software:
- Arduino IDE
- Arduino Libraries:
- RTCZero Arduino Library (Download in the Arduino Library Manager)
- SAMD21 RTC Arduino Example Sketch
Software
For the Arduino Sketch, you will need to have downloaded the RTCZero library. These can be found using the Arduino IDE Library Manager. Select Tools -> Library Manager and then type in "rtczero". Then you can press "Install".

Plug the SAMD21 processor into your computer with a micro USB cable. Make sure the power switch is turned to on! Open the SAMD21 RTC Arduino Example Sketch in the Arduino IDE.
Make the correct Tools selections for your development board. If unsure, you can double-check the Help page that mentions the Tools selections needed for any TinyCircuits processor.
Before uploading, be sure to initialize the hours, minutes, seconds, day, month, and year variables to the appropriate values. You can also write your own functions to set these values at runtime.
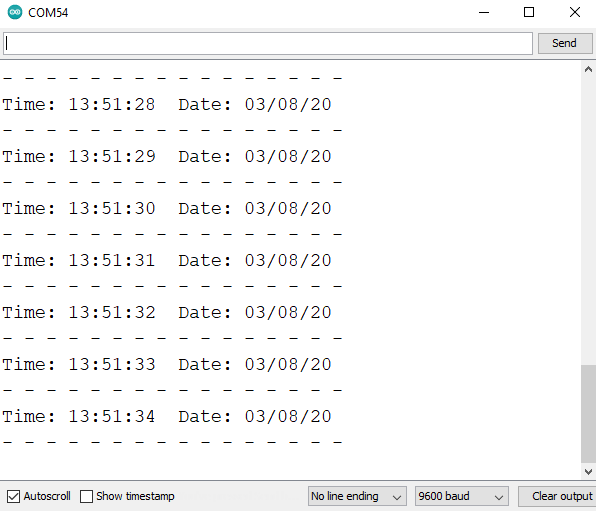
After uploading, open the Serial Monitor to view the time as it changes.
Contact Us
As always, if you have any questions or feedback, feel free to email us at info@tinycircuits.com.
Show us what you make by tagging @TinyCircuits on Instagram, Twitter, or Facebook so we can feature it!
Thanks for making with us!