Make Your Own Wireling - Using a Wireling Cable
This tutorial details how you can make your own Wireling using a Wireling Cable and some simple soldering!
I know what you are thinking - Wirelings are specifically designed so that you do not need to solder and you can just plug-in and un-plug whatever you need for a project. Yes, this is exactly the point of Wirelings, but we realize that we cannot make everything into a Wireling - so using a Wireling Cable allows you to make any I2C or Analog/Digital device into a Wireling in the meantime! (You could even make two different Wirelings using one Wireling cable cut in half!)
Have some ideas for what should be our next Wireling? Post on the Wireling section of the TinyCircuits forum with your idea!
New to Wirelings? Learn more about the Wireling platform!
Materials
Hardware:
- Wireling Cables
- Micro USB Cable
- Hardware you want to Wireling-ify!
Software:
- Arduino IDE
- Arduino Libraries:
- Wireling.h
- Any libraries required for the hardware
- Wireling Example Outline I2C Sketch
- Wireling Example Outline Analog/Digital Sketch
Extras:
- Basic soldering equipment:
- Soldering Iron
- Wire
- Solder
- (Recommended) Soldering Helping Hands
- Heat-shrink Tubing (You could use electrical tape if you do not own heat-shrink, but heat-shrink is more durable and safer to use long-term)
- Hot Air Gun
Hardware Assembly
Solder
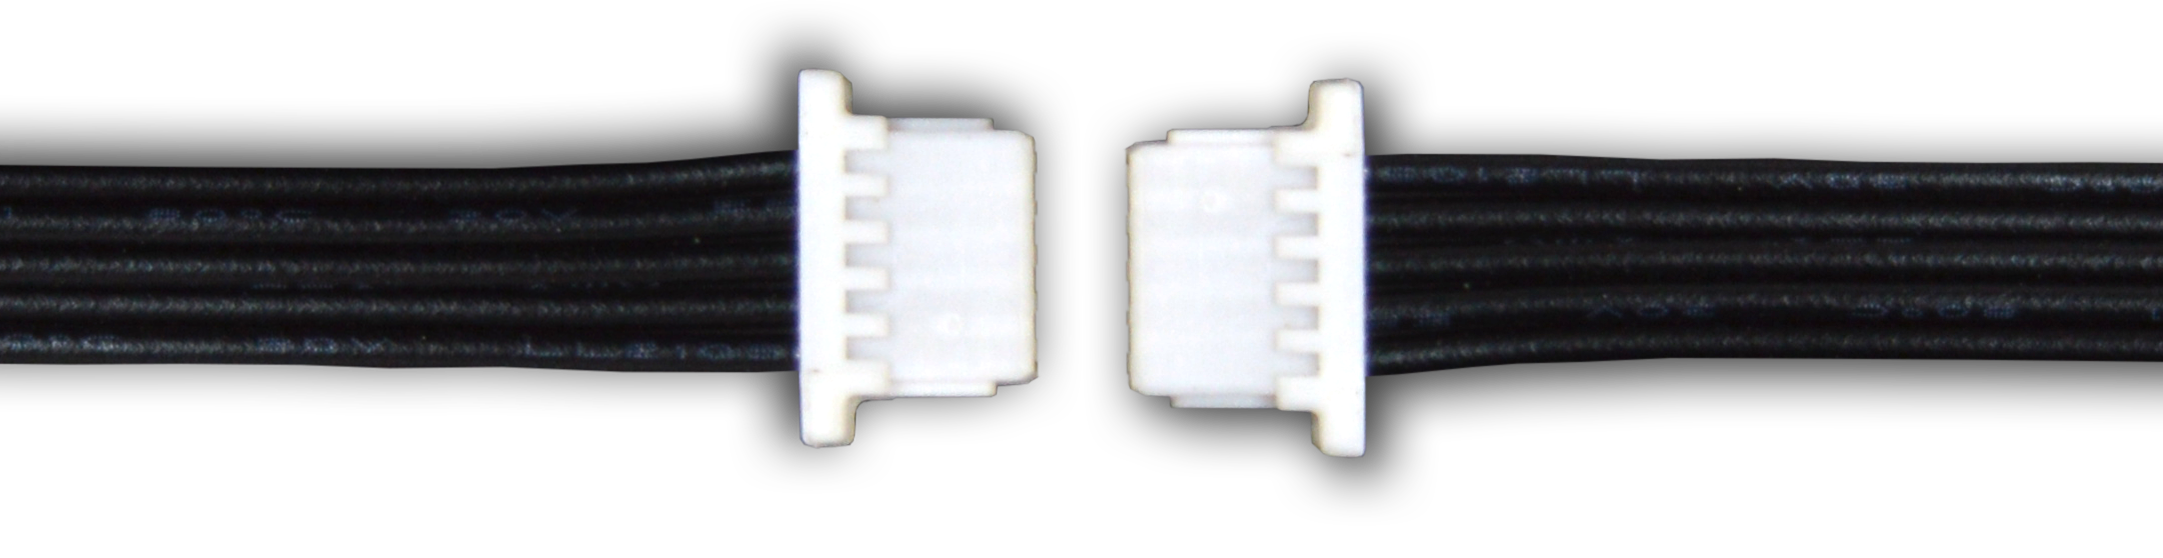
Pinout of Wireling cable
Depending on the external device you plan to make a Wireling out of, you will need either the INT pin for an Analog or Digital component, or the SCL and SDA pins for an I2C component. For more complicated boards or an time easier soldering - you can use a 0.1" Breakout Wireling to make a new Wireling.
For I2C connection soldering:
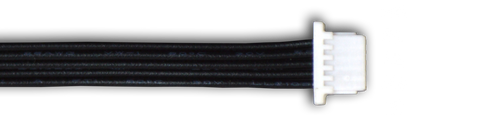
Auxiliary Pin: The fifth wire is connected to an Analog pin for Wirelings that just need an I/O pin to function, like Buttons, and RGB LEDs.
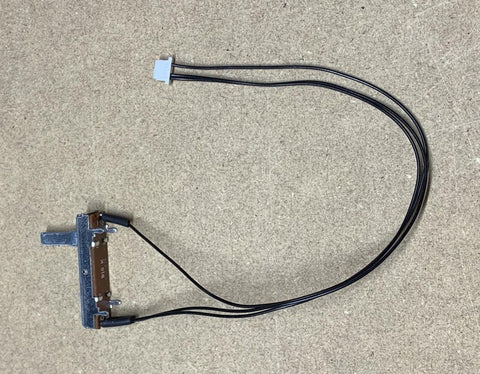
Example Analog Wireling: Slider Potentiometer soldered to a Wireling cable with heat-shrink. NOTE: The SCL and SDA wires were removed since they had no connection to be made.
Tips for Soldering:
- Strip and tin the wires. Stripping and tinning wires like this helps to keep them straight and make them easier to solder.
- Cut and thread the heat-shrink first. There have been several times I have made a perfect soldered joint that I have had to cut because I forgot the heat-shrink - so do not forget about it!
- Use Helping Hands to hold the hardware in one clip, and the wire you are soldering in the other - this way you can focus your real hands on soldering
- Double-check the pinout of the hardware you are using- and make sure you are soldering to the correct Wireling Cable wire. They are all the same color, so it can be easy to make a mistake!
- Use a hot air gun carefully to heat the heat-shrink tubing. Do not get the air gun too close or too hot to the Wireling Cable, as you can melt the insulation when trying to hear the heat-shrink tubing.
Plug-in
Once you have soldered the new Wireling, you just need to plug it into the port you intend to use with any of our Wireling Adapters or Processors.
Extra Hanging Wires?
In the above picture of the DIY Slide Potentiometer Wireling, you can see that the SCL and SDA wires were removed. Unused wires can be trimmed to the connector. Just be careful not to cut any other wires!
Software
You will need to download the Wireling Library, and any other software that may pertain to the hardware you are making into a Wireling. You can install the Wireling library from the Arduino IDE Library Manager, go to Tools -> Manage Libraries -> type in Wireling, and select Install:

Download the zip folders for the libraries above under software. To install an Arduino library, check out our Library Installation Help Page.
Arduino Code
Make the correct Tools selections for your development board. If unsure, you can double-check the Help page that mentions the Tools selections needed for any TinyCircuits processor. Then upload the program to your development board of choice.
For making an I2C device into a Wireling, you can use the Wireling Example Outline I2C Sketch as a starting point that includes all the basic initializations you need with your new Wireling.
Analog devices are even easier to use as a Wireling with only a few lines to add using the Wireling Example Outline Analog/Digital Sketch
Contact Us
Show us what Wirelings you make by tagging @TinyCircuits on Instagram, Twitter, or Facebook so we can feature it!
As always, if you have any questions or feedback, feel free to email us at info@tinycircuits.com.
Thanks for making with us!