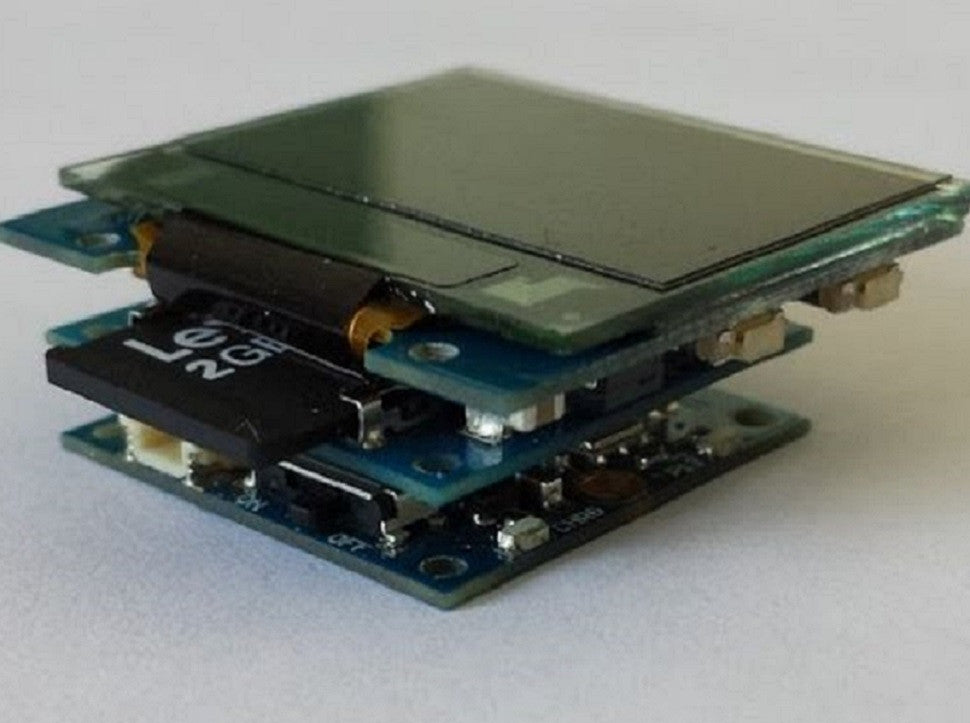
Putting Images on Your TinyScreen

In this tutorial, you will learn how to display an image or gif on a TinyScreen.
Step One: Downloads and Materials

Before starting, the proper drivers must be installed to detect the COM ports. These drivers must be installed before downloading any codes from the codebender plugin. The drivers needed can be found here.
Materials Needed:
Downloads Required:
When checking to see if your computer has python installed correctly, go to the command window and type in 'python' without the quotes. If it is installed, you should get a response saying what version you have.
If you do not get any response when you type python in the command window, you will have to manually set a path(mainly for Windows). To set the path, follow the directions here.
Step Two: Converting the image or gif to a .tsv file


Here is the gif and .tsv file to test on the TinyScreen as well as an image of our beloved cat. You can use this .tsv to make sure everything is working properly.
The TSV converter file needs to be placed in the file with all of your other gifs. Running the script will convert ALL gif files to tsv files. The TSVconverter file will only work for a gif file, so if you have a png or jpg you wish to convert, you will need to re-save it as a gif. To run the script and start the conversions, simply double click on the python file in the folder.
Step Three: Programming the TinyDuino

The TinyScreen Video Player is a nice little code that will look for a specified .tsv file on your microSD card. The TinyScreen Video Menu code looks through all the files on your microSD card, and you can choose which file you want to be displayed. Have fun!

